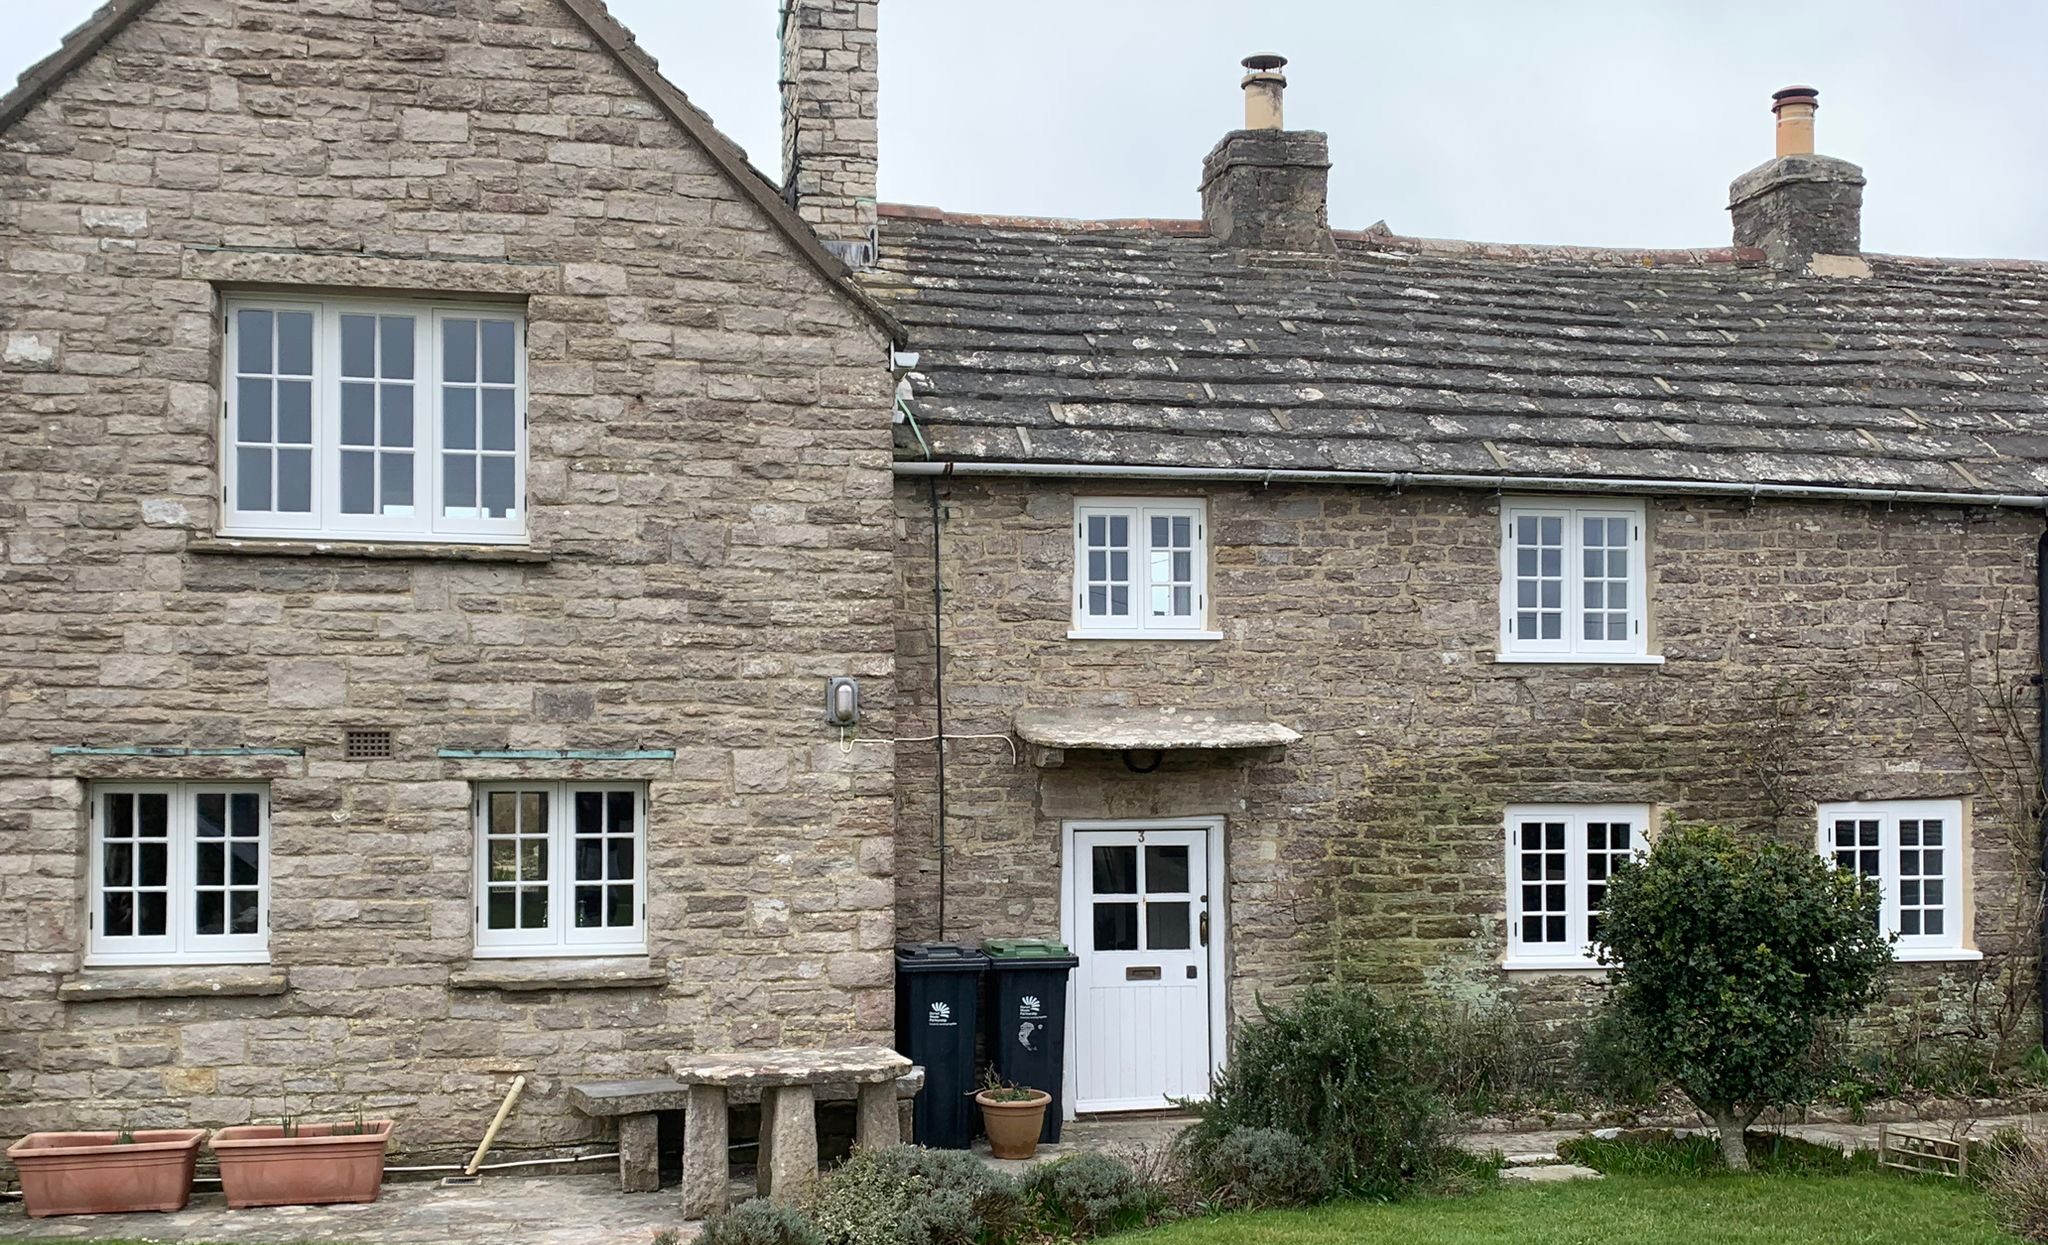
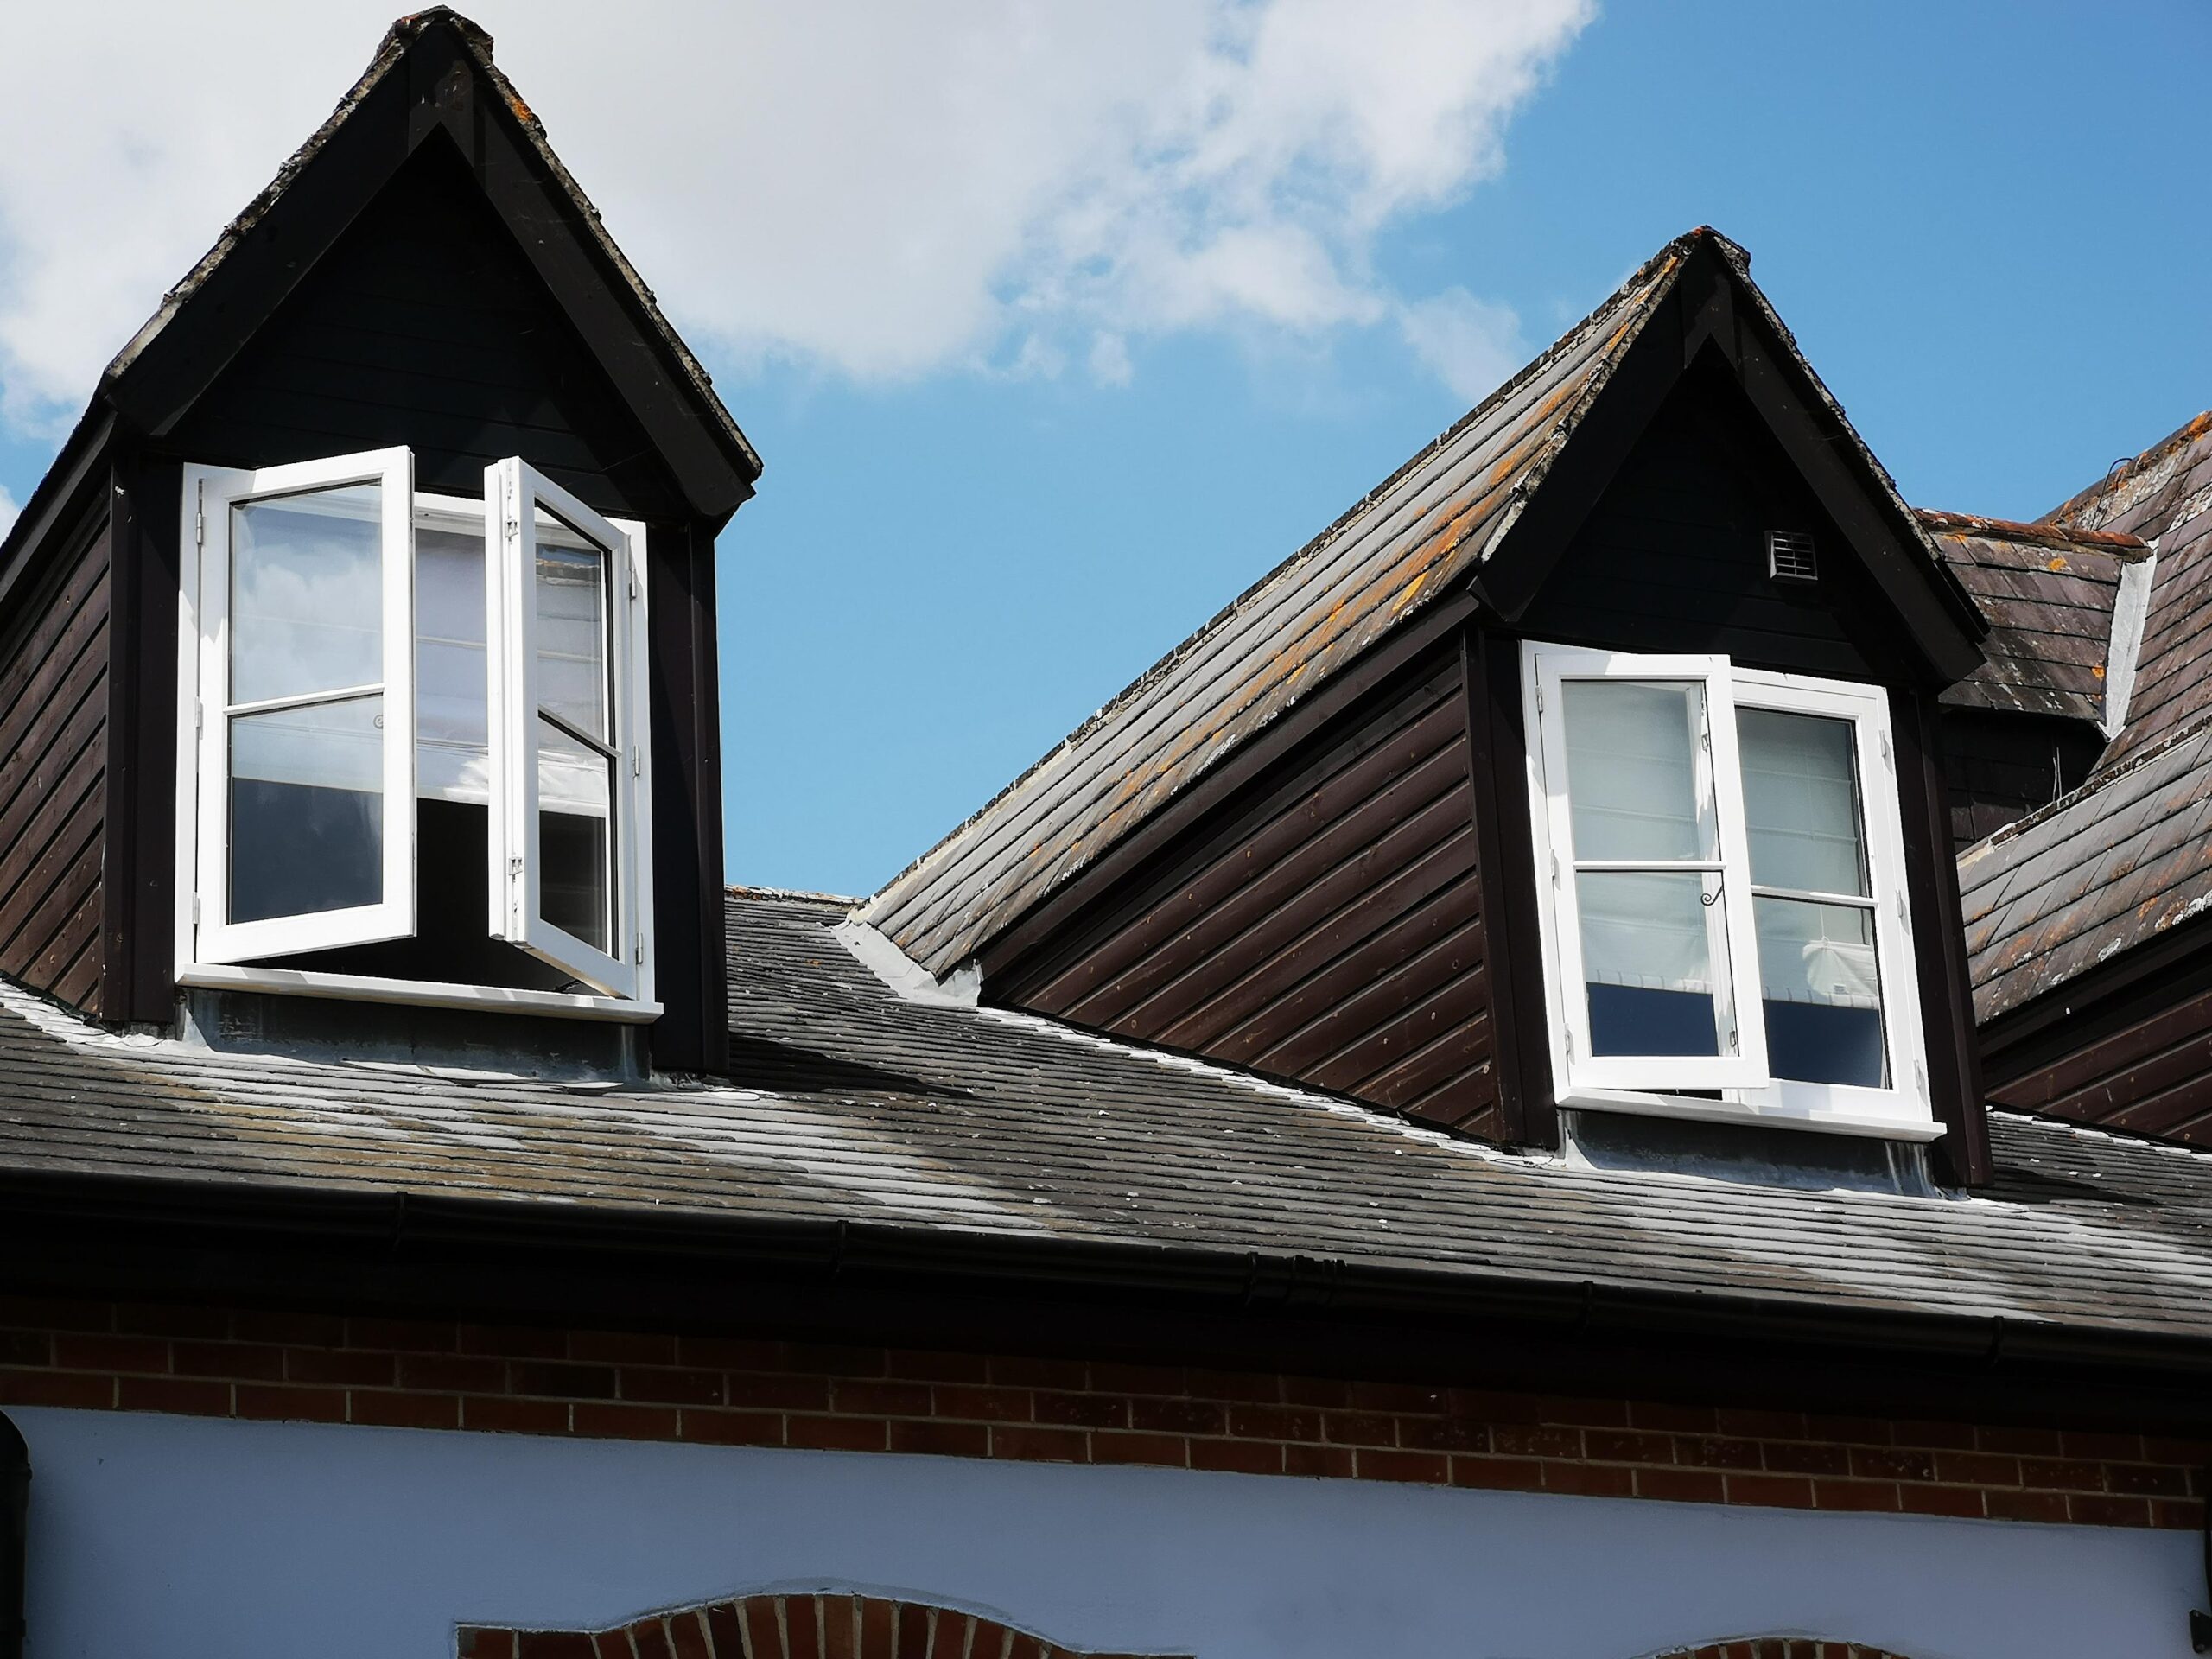
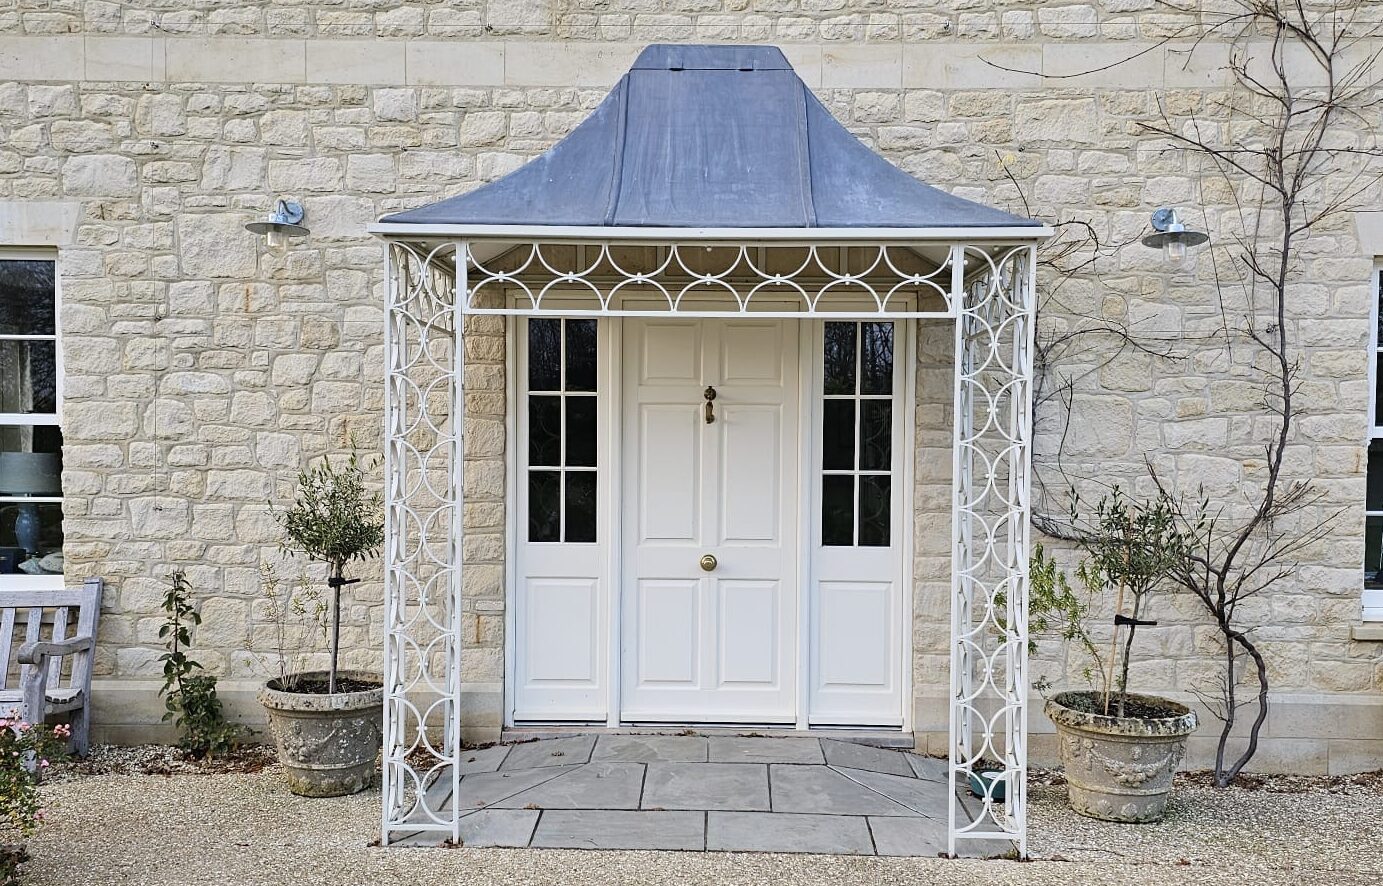
how to remove tint from rear window?

Window tinting has become a popular choice for car owners due to its numerous benefits, including privacy, reduced glare, and protection from harmful UV rays. However, there are instances when you might need to remove the tint from your rear window. This could be due to fading, bubbling, or legal restrictions that require you to have a clearer view through your rear window.


In this article, we’ll guide you through the process of safely removing window tint from your rear window. It’s essential to approach this task carefully to avoid damaging the window and ensure a successful tint removal process.


Understanding Window Tint


Before you embark on the tint removal journey, it’s essential to understand the different types of window tint available and their characteristics. Window tints come in various shades and levels of darkness. However, it’s crucial to be aware of the legal restrictions and regulations regarding window tint darkness in your region, as excessively dark tints may lead to penalties.


Preparing for Tint Removal


To start the tint removal process, gather the necessary tools and materials. You’ll need a heat gun or steamer, a sharp razor blade, ammonia solution (optional), cleaning agents, microfiber cloths, and a spray bottle with soapy water. Choose a suitable location for the removal process, preferably a shaded area, and ensure the rear window is clean and free from any debris.


Safe Tint Removal Methods


Method 1: Using Heat Gun and Razor Blade


Step 1: Begin by heating the tint with a heat gun. Hold the heat gun about 2 to 3 inches away from the tint and move it in a circular motion. The heat will soften the adhesive, making it easier to remove the tint.


Step 2: Once the tint is sufficiently heated, carefully lift one corner using a razor blade. Gently peel off the tint, applying steady and even pressure to avoid tearing it. Take your time and work in small sections.


Step 3: If the tint becomes difficult to remove, reapply heat to soften the adhesive further. Be cautious not to damage the defroster lines or the window itself with the razor blade.


Method 2: Steaming Method


Step 1: Boil water and carefully pour it into a hot water bag or a spray bottle.


Step 2: Spray or apply the hot water bag to the inside of the rear window. Let the steam penetrate the tint and adhesive for a few minutes to loosen the bond.


Step 3: Similar to Method 1, use a razor blade to lift one corner of the tint, and then gently peel it off. If needed, reapply steam to stubborn areas.


Step 4: Wipe away any residual adhesive or tint with a clean microfiber cloth.


Method 3: Ammonia Solution


Step 1: Mix a solution of equal parts water and ammonia in a spray bottle.


Step 2: Thoroughly spray the ammonia solution onto the interior of the rear window, ensuring the tint is fully saturated.


Step 3: Cover the wet tint with a plastic sheet to prevent the solution from drying out too quickly. Let it sit for about an hour, allowing the ammonia to dissolve the adhesive.


Step 4: Carefully peel off the tint using a razor blade, applying gentle pressure as needed.


Step 5: Once the tint is removed, clean the window thoroughly to remove any remaining adhesive and ammonia residue.


Alternative Commercial Tint Removal Products


If you prefer not to use the DIY methods mentioned above, there are commercial tint removal sprays and solutions available in the market. These products are specifically designed to dissolve the adhesive, making it easier to peel off the tint. However, always follow the manufacturer’s instructions and take necessary precautions when using these products.


Dealing with Stubborn Residue and Adhesive


After removing the tint, you might encounter residual adhesive or tint that refuses to come off easily. To tackle this, you can use adhesive removers or commercial tint removal products. Be cautious not to scratch or damage the window while removing the stubborn residue.

Post-Removal Cleaning and Inspection


Once you’ve successfully removed the tint and adhesive, it’s crucial to clean the rear window thoroughly. Use a glass cleaner and a microfiber cloth to ensure the window is spotless and clear. Afterward, inspect the window for any signs of damage, scratches, or defroster line issues. Address these problems promptly to avoid further complications.

Applying New Window Tint (Optional)


If you removed the tint due to wear and tear or aesthetic reasons, you might consider applying new window tint. This step requires precision and skill to achieve a professional result. If you’re uncertain about the application process, seek the assistance of a professional tint installer.


Conclusion


Removing tint from your rear window can be a challenging task, but with the right approach and tools, it’s entirely achievable. Always prioritize safety and take your time during the removal process to avoid damaging the window or injuring yourself. Whether you choose to use heat, steam, ammonia, or commercial products, follow the step-by-step guide carefully for a successful outcome.


Remember, a clear and well-maintained rear window is essential for your safety and the safety of others on the road. Take pride in your car’s appearance and functionality by ensuring your rear window remains transparent and free from any obstructing tint.

Leave a Comment

Your email address will not be published. Required fields are marked *

Scroll to Top
Scroll to Top