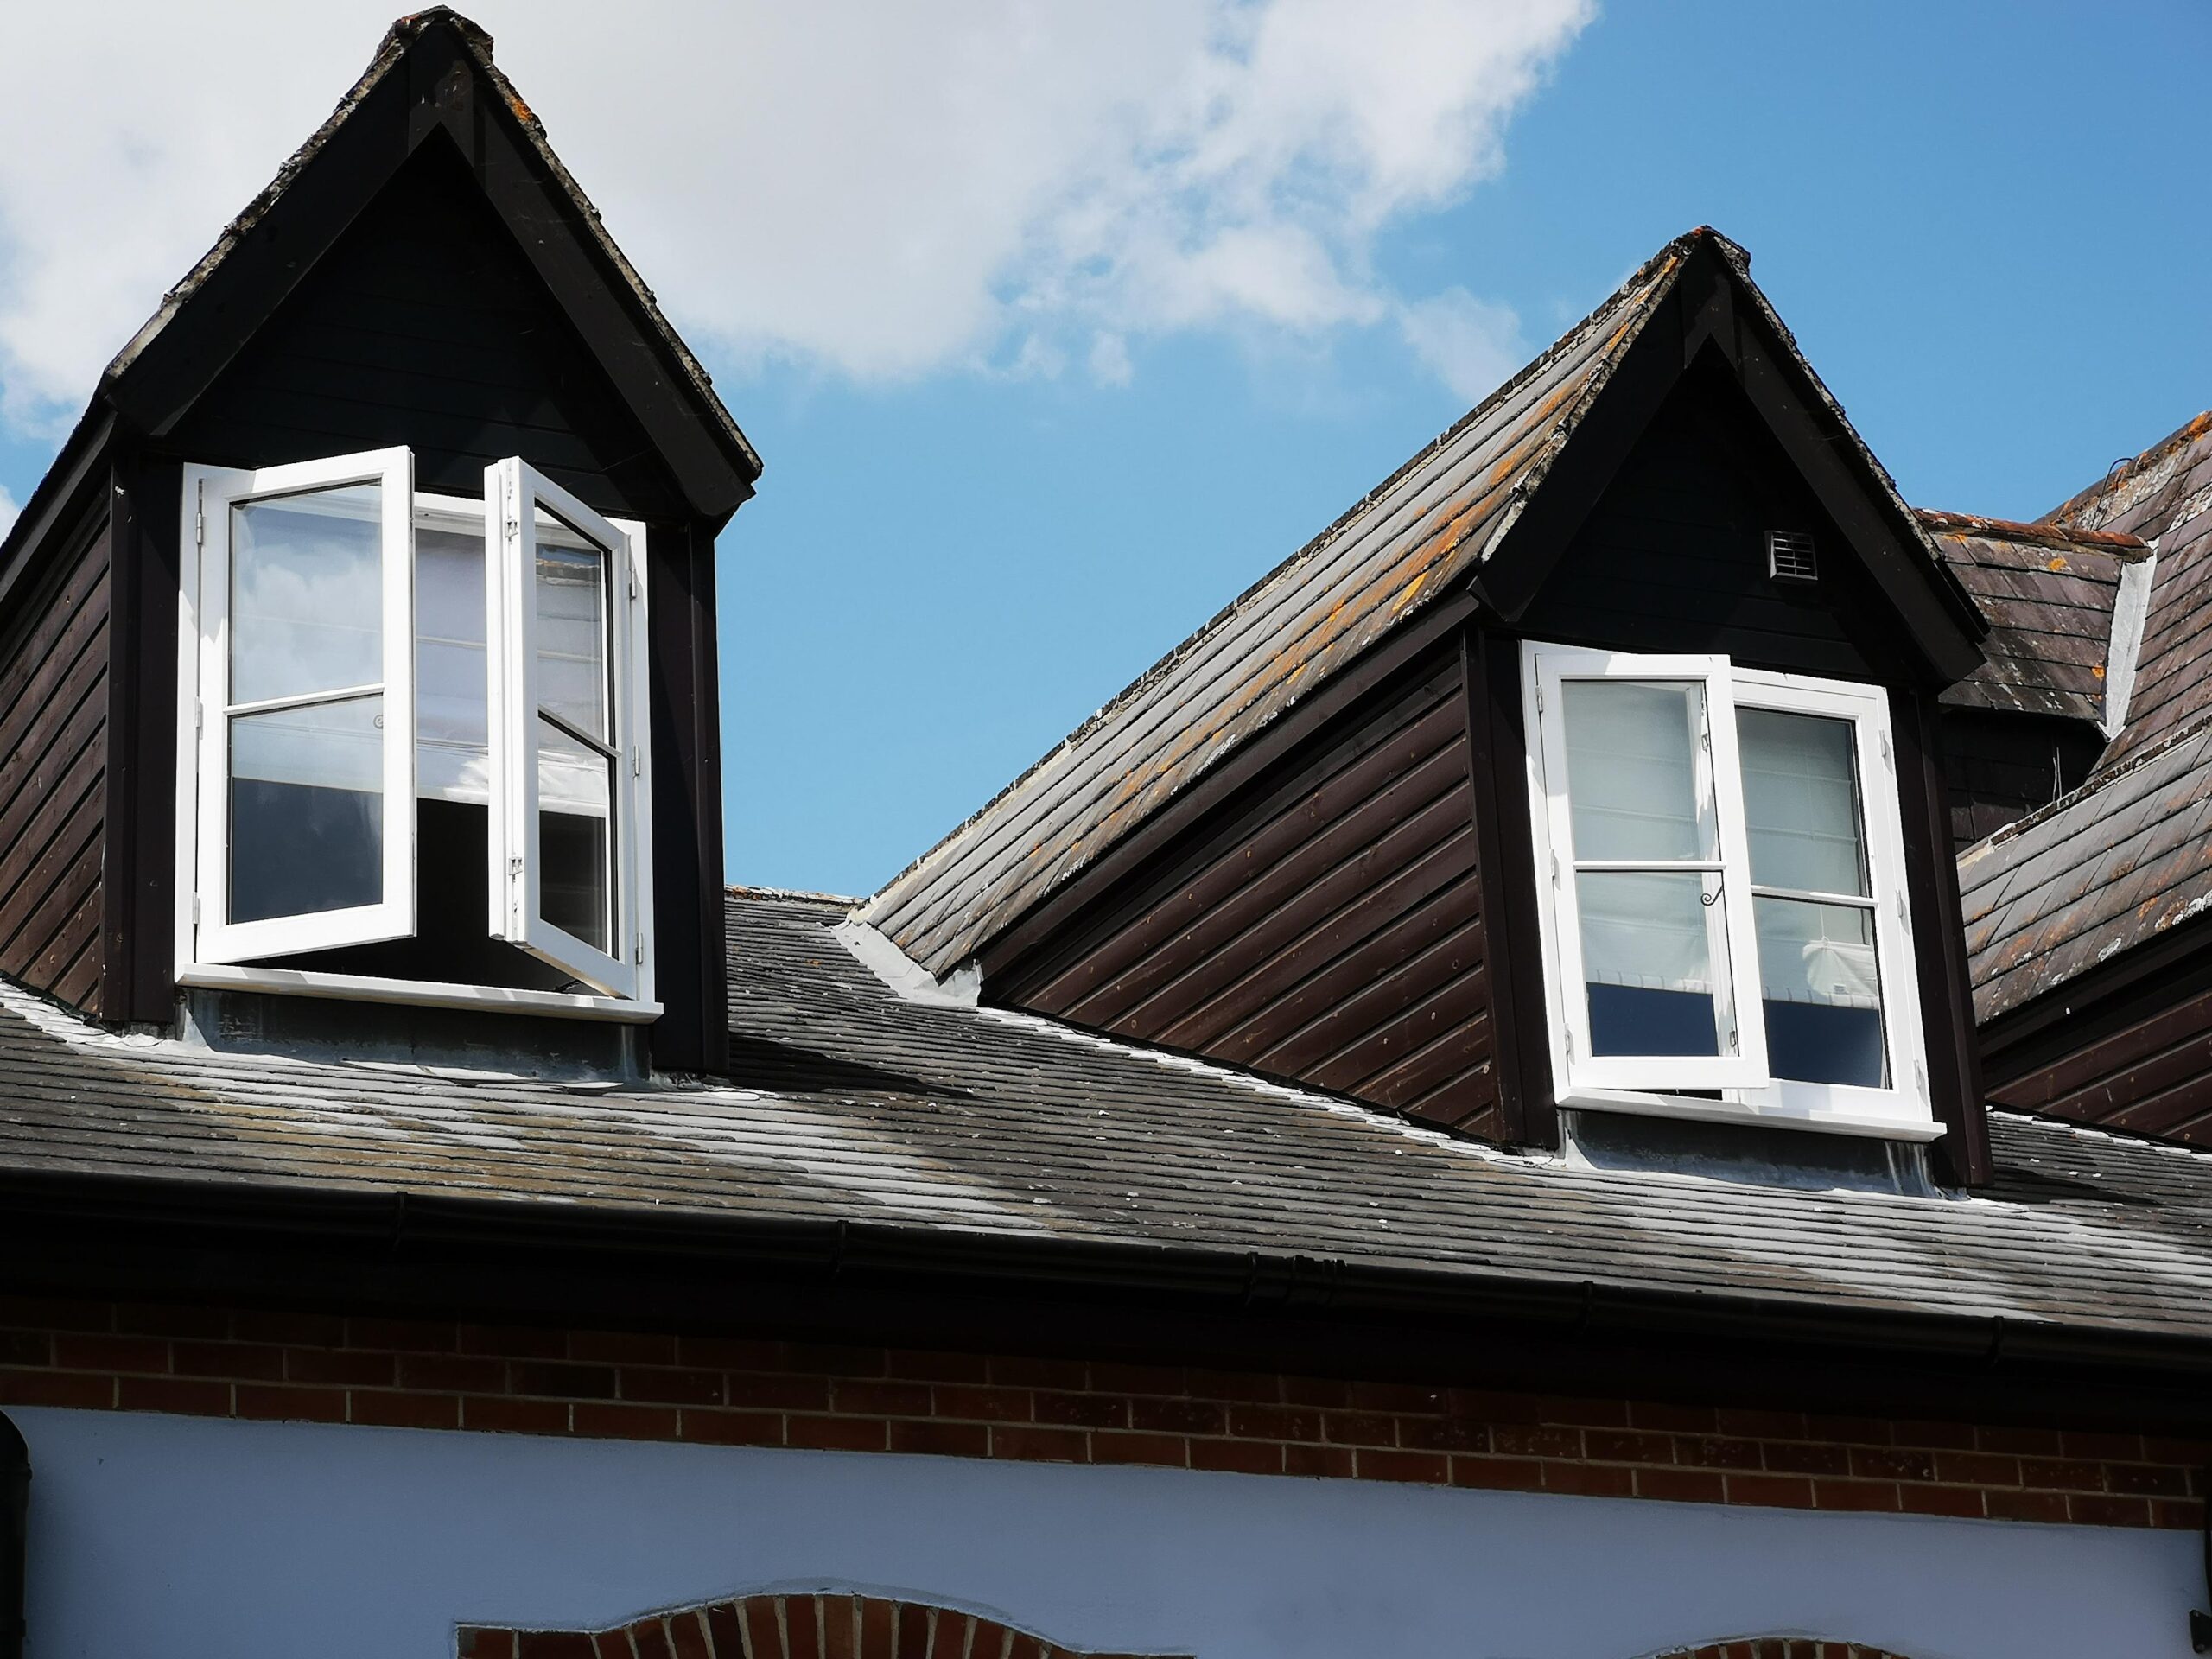
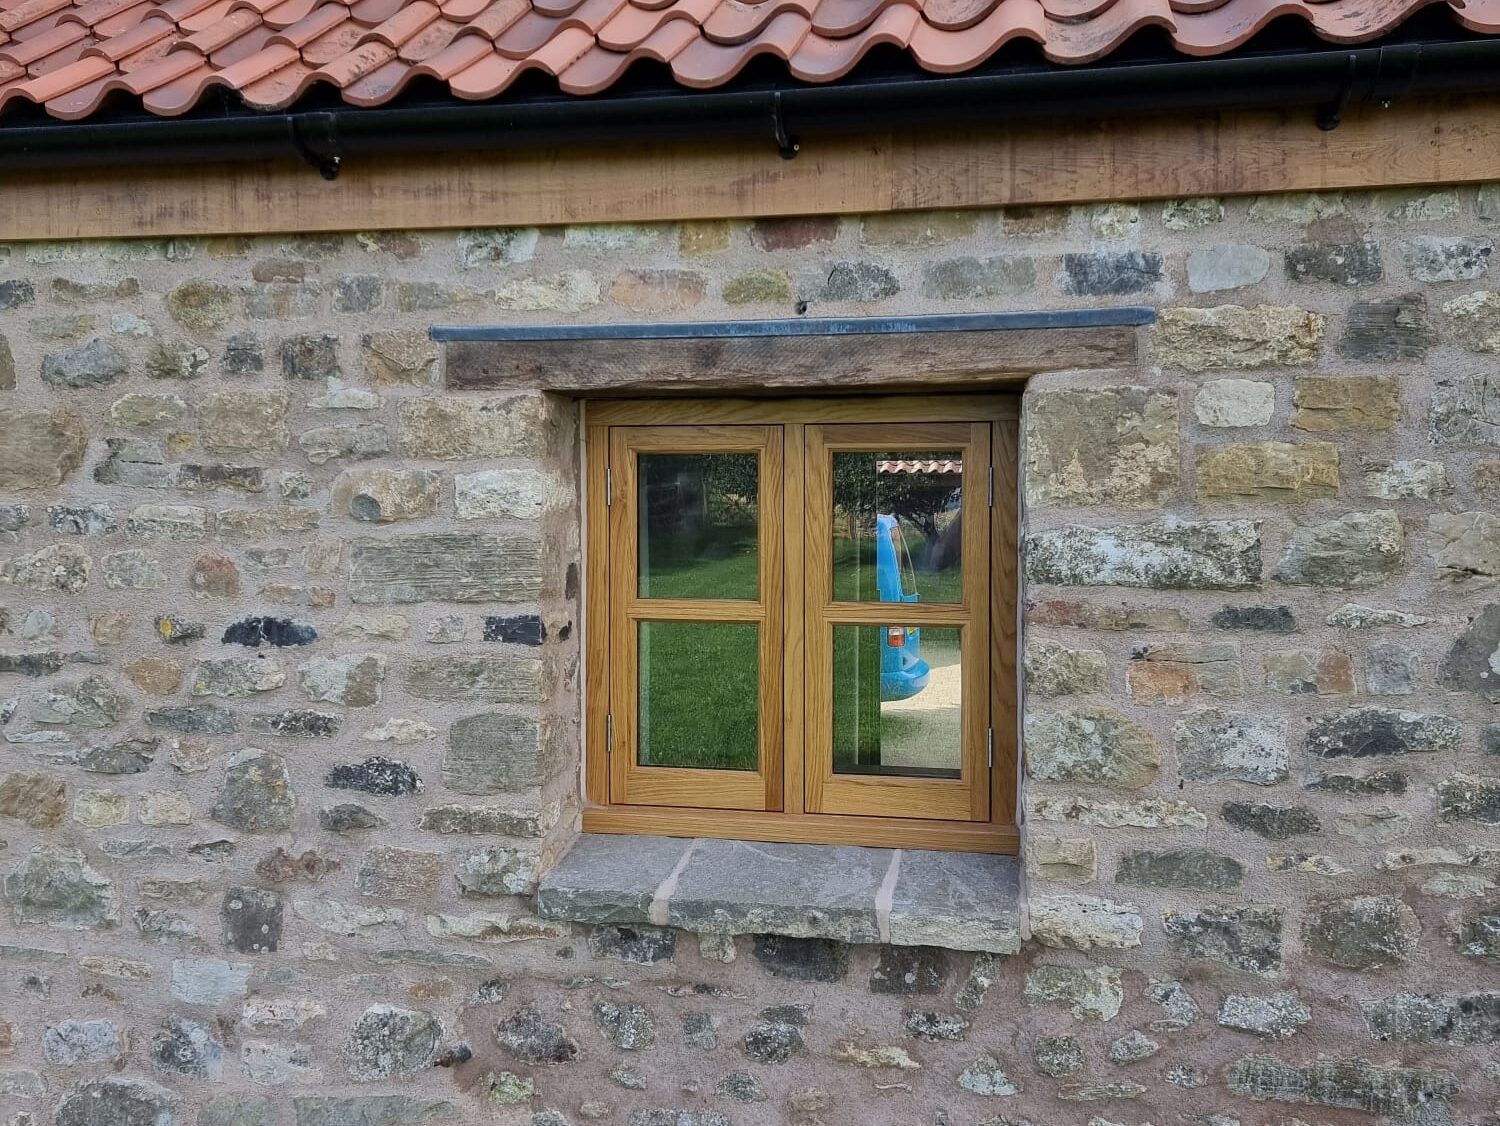
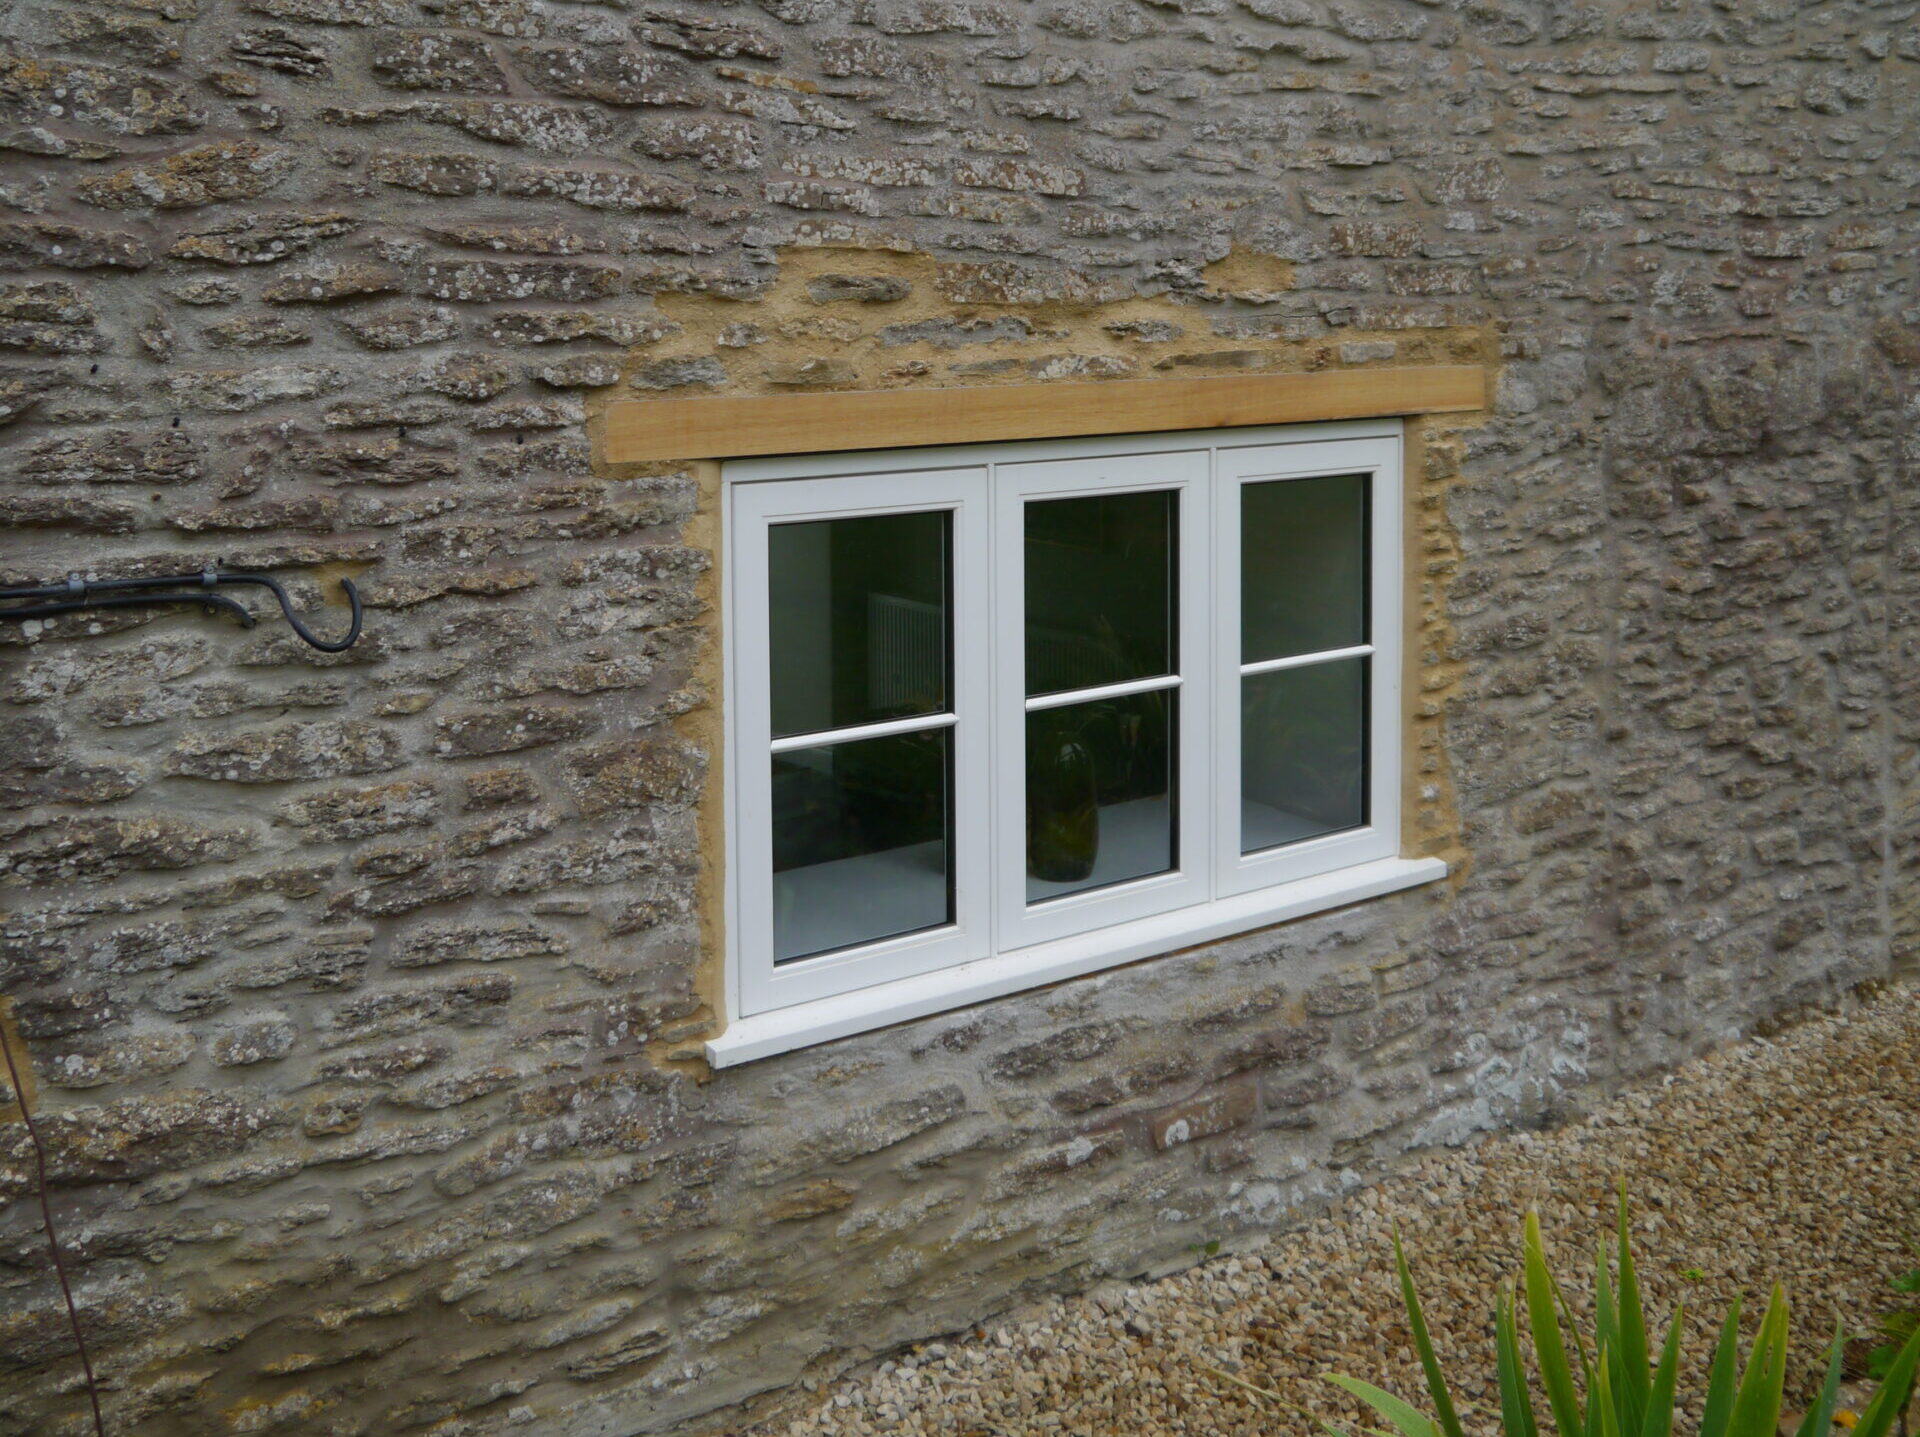
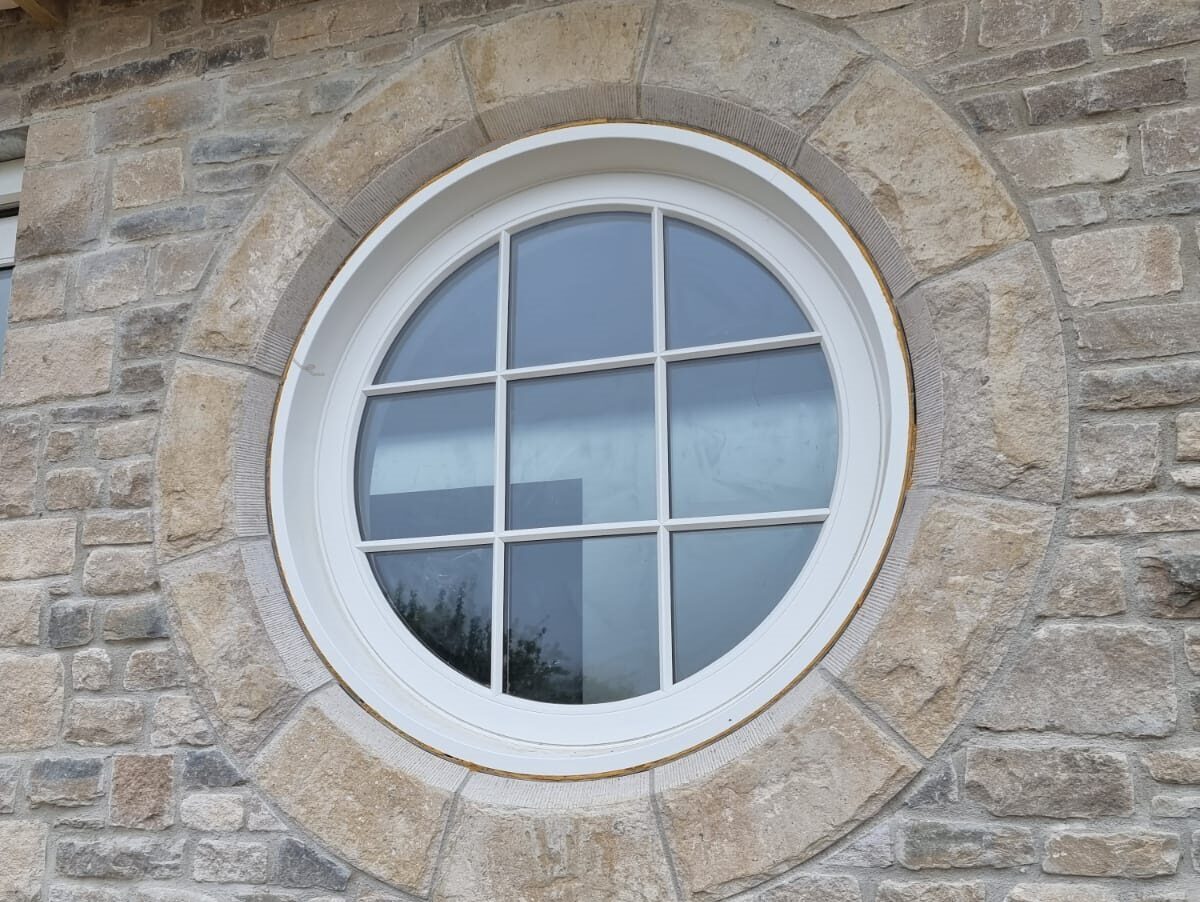
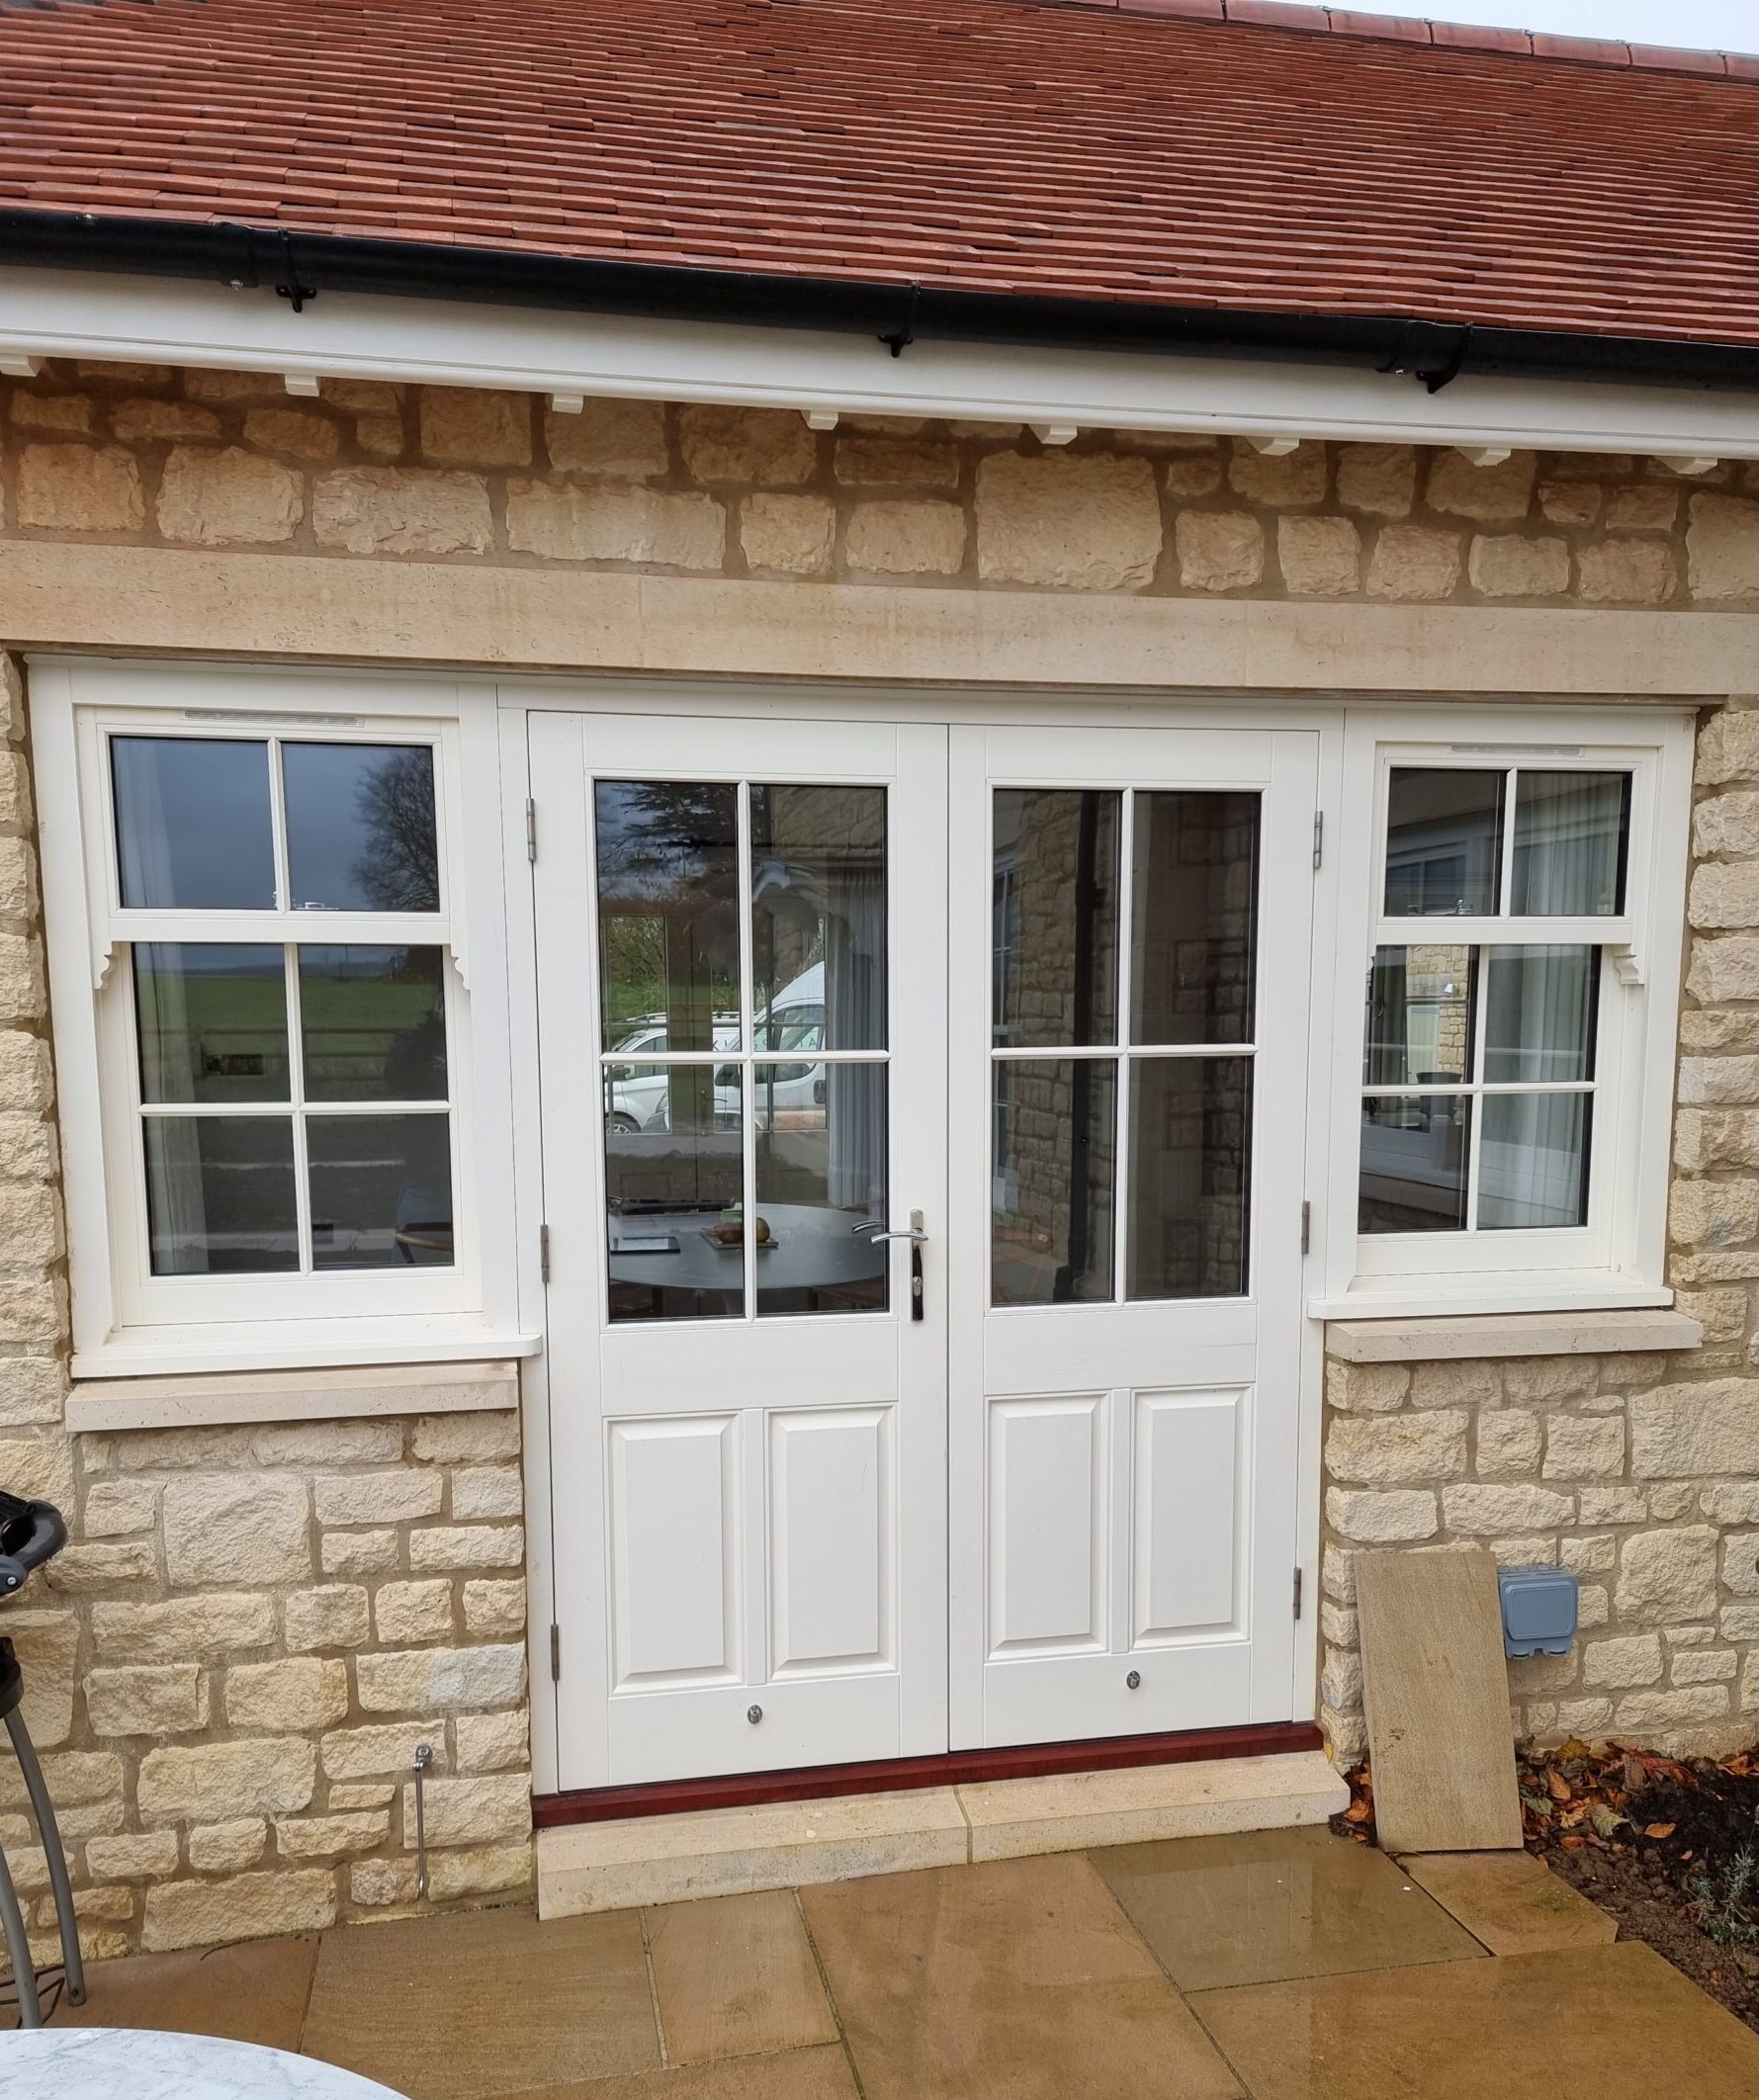
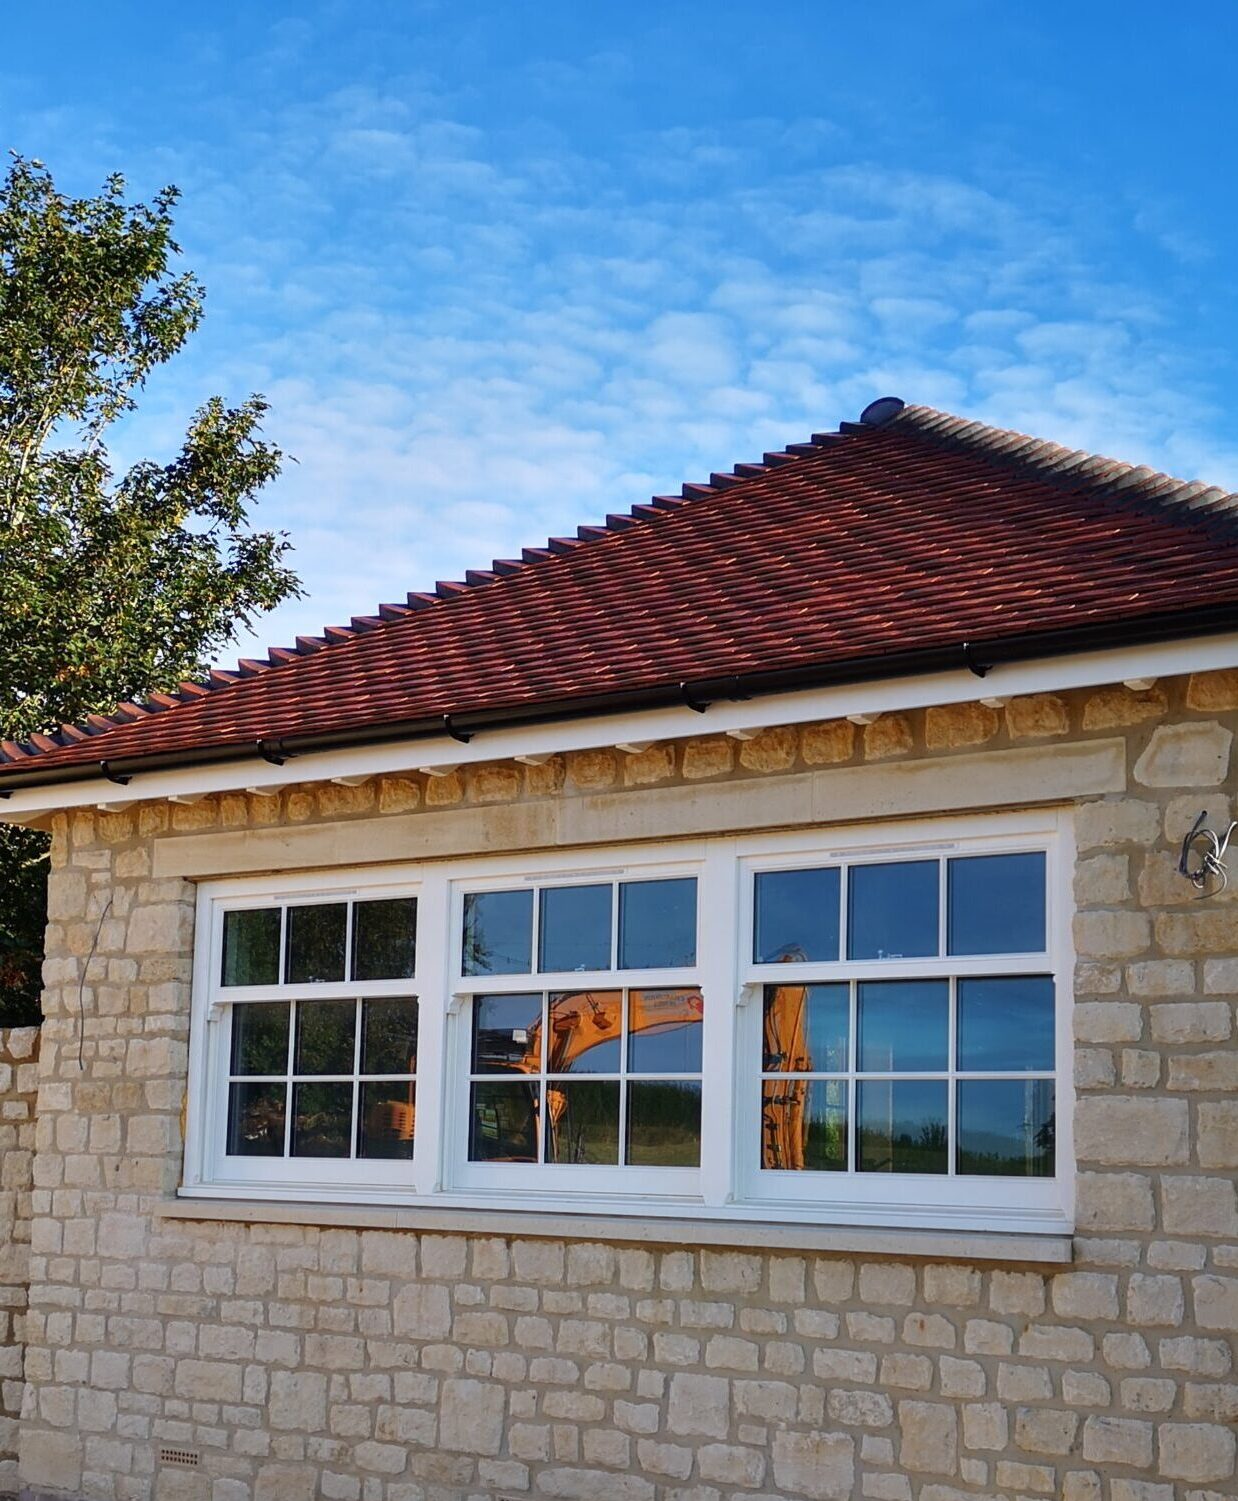
Our timber casement windows offer exceptional versatility, making them an ideal choice for a diverse range of structures and tastes. The impeccable skill and artistry we employ guarantee the highest quality result that enhances the aesthetics and functionality of your property.
We’re Accoya-approved manufacturers, meaning for extra assurance when it comes to durability and sustainability you can choose to have your frames made from Accoya wood.
Additionally, by opting for our timber windows, you can pick from a wide selection of ironmongery to match the function and desired appearance of your chosen design.
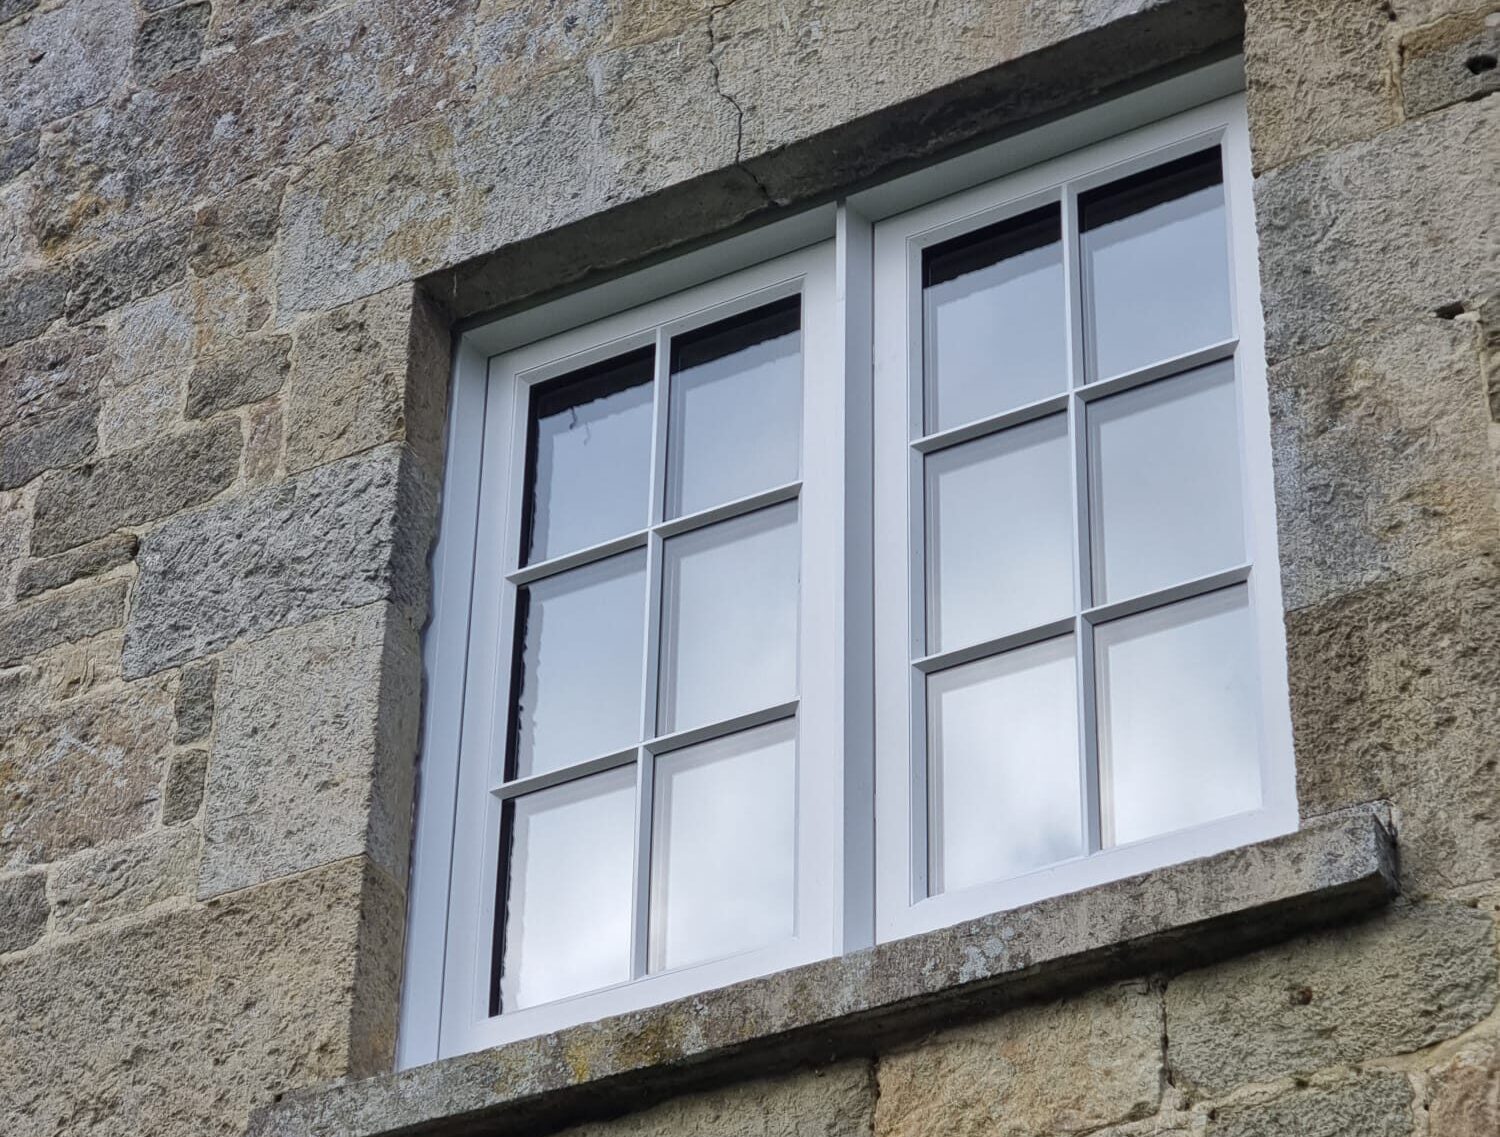
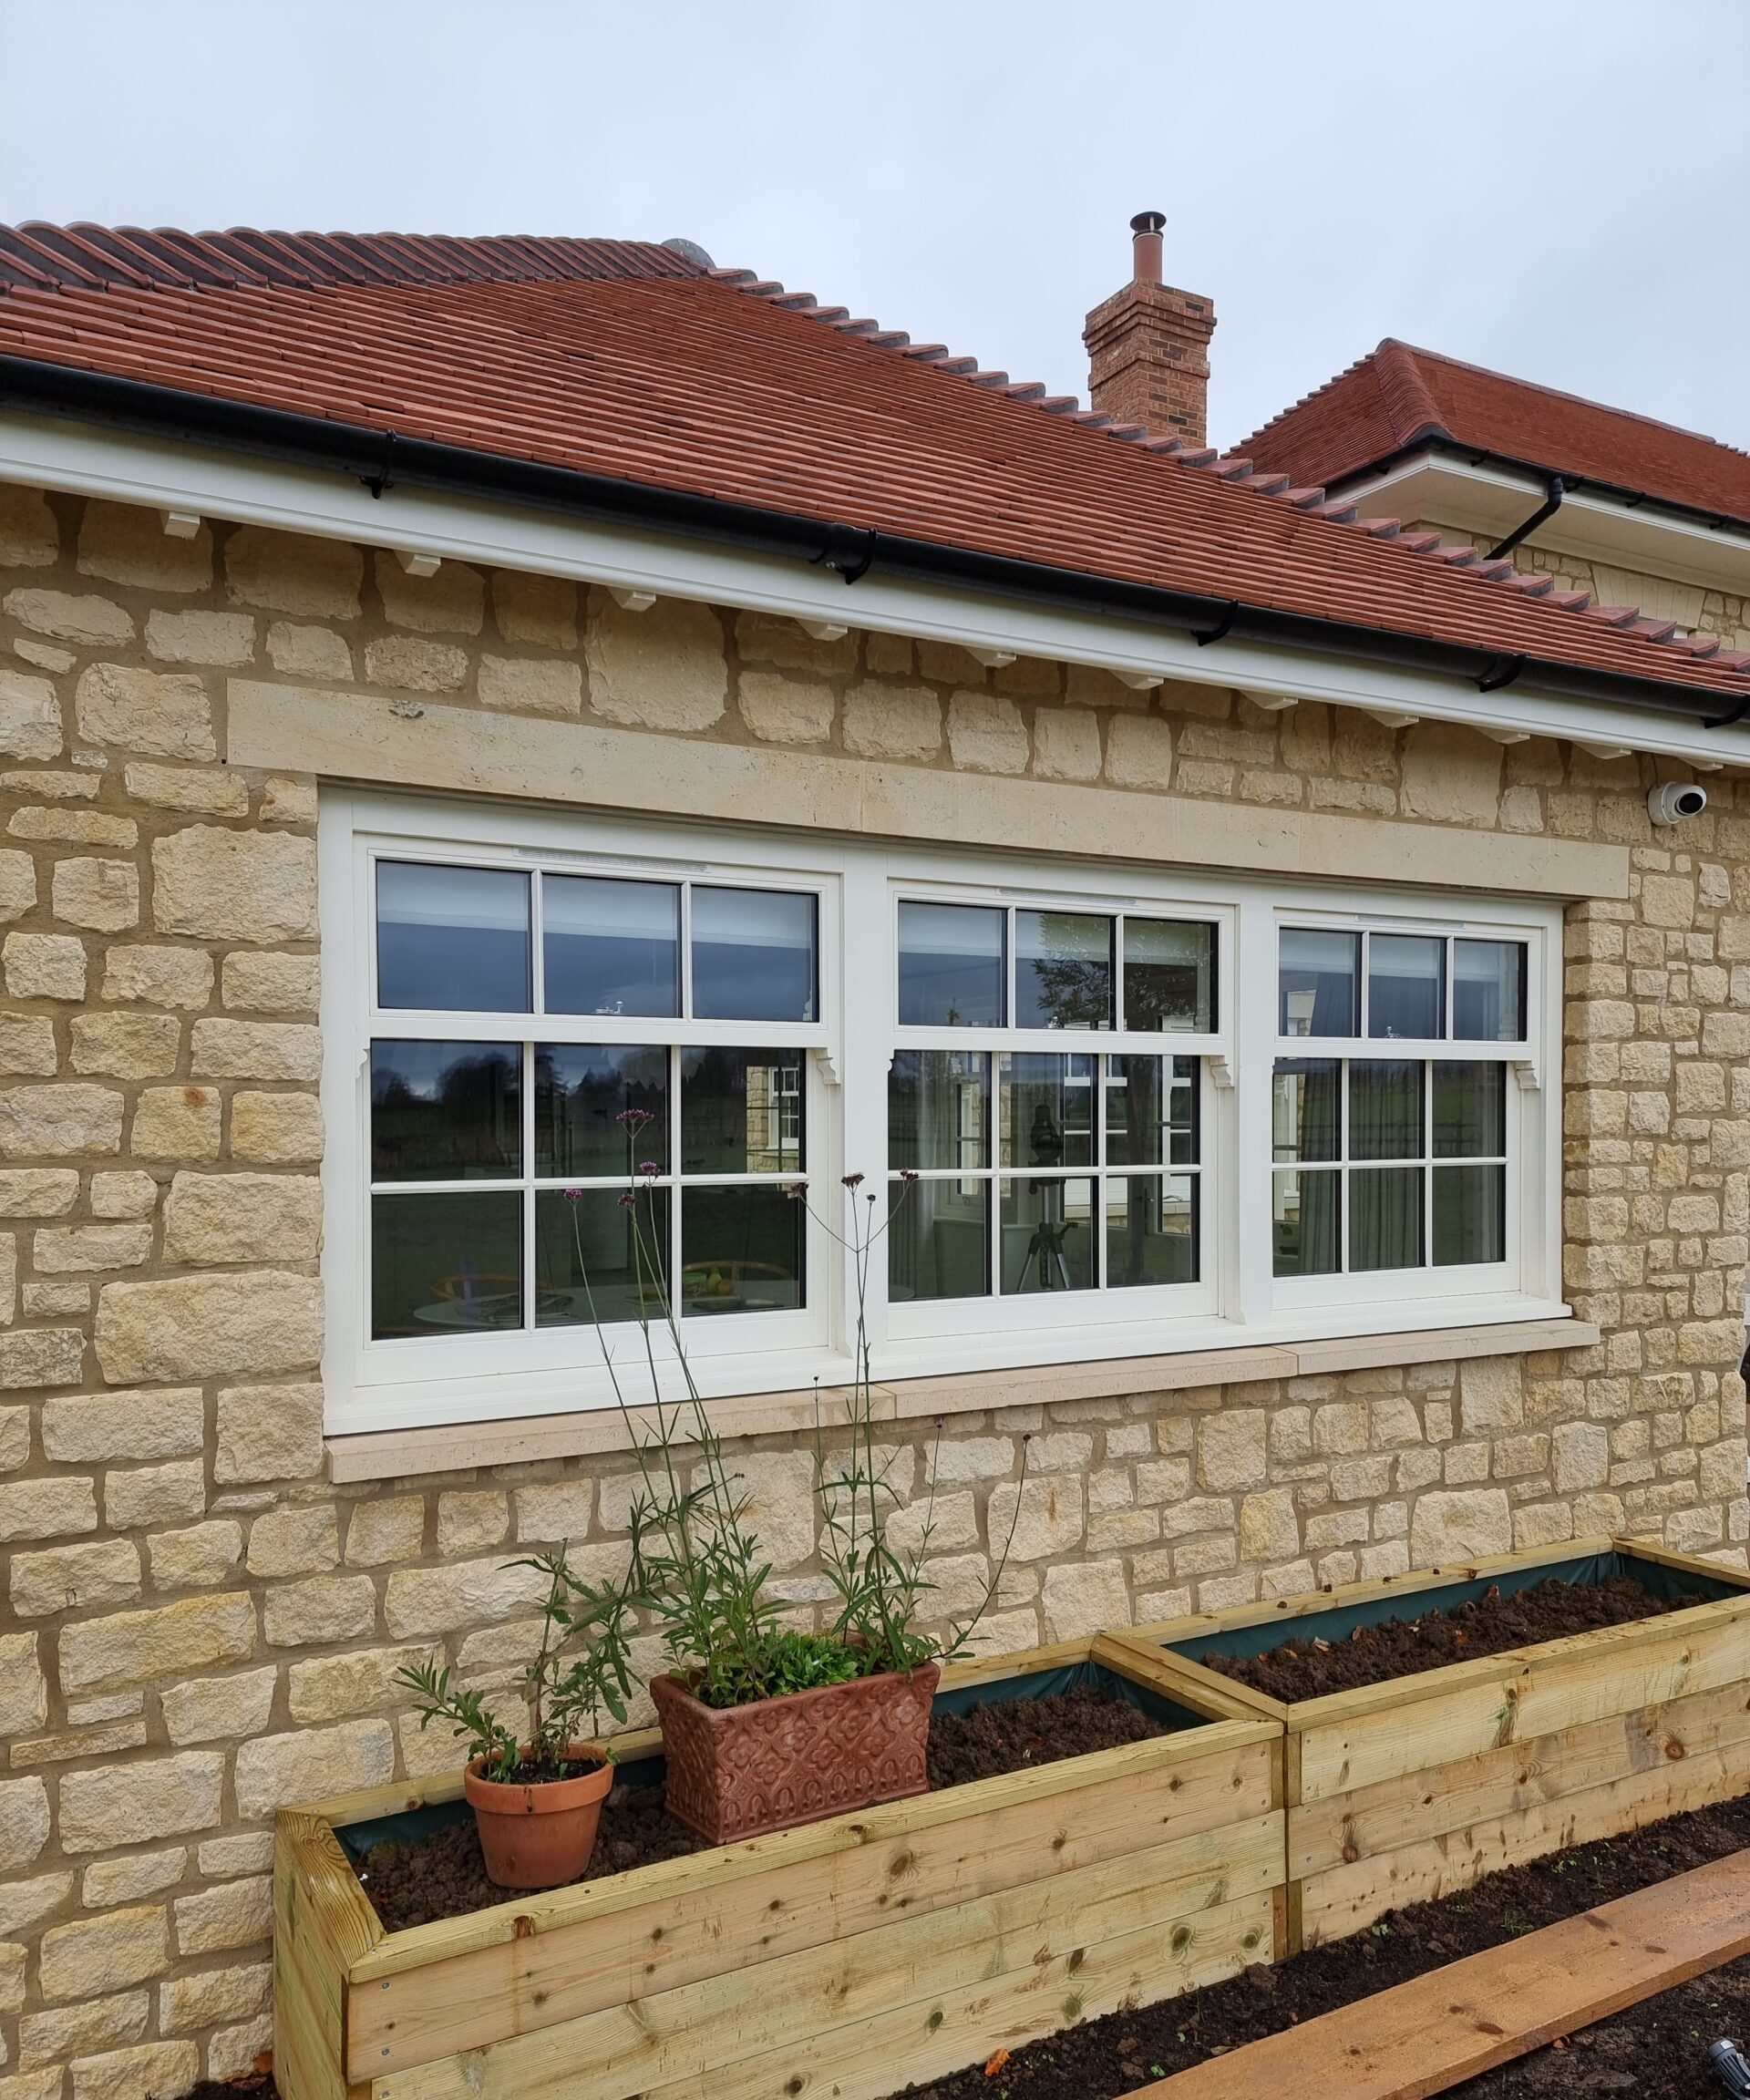
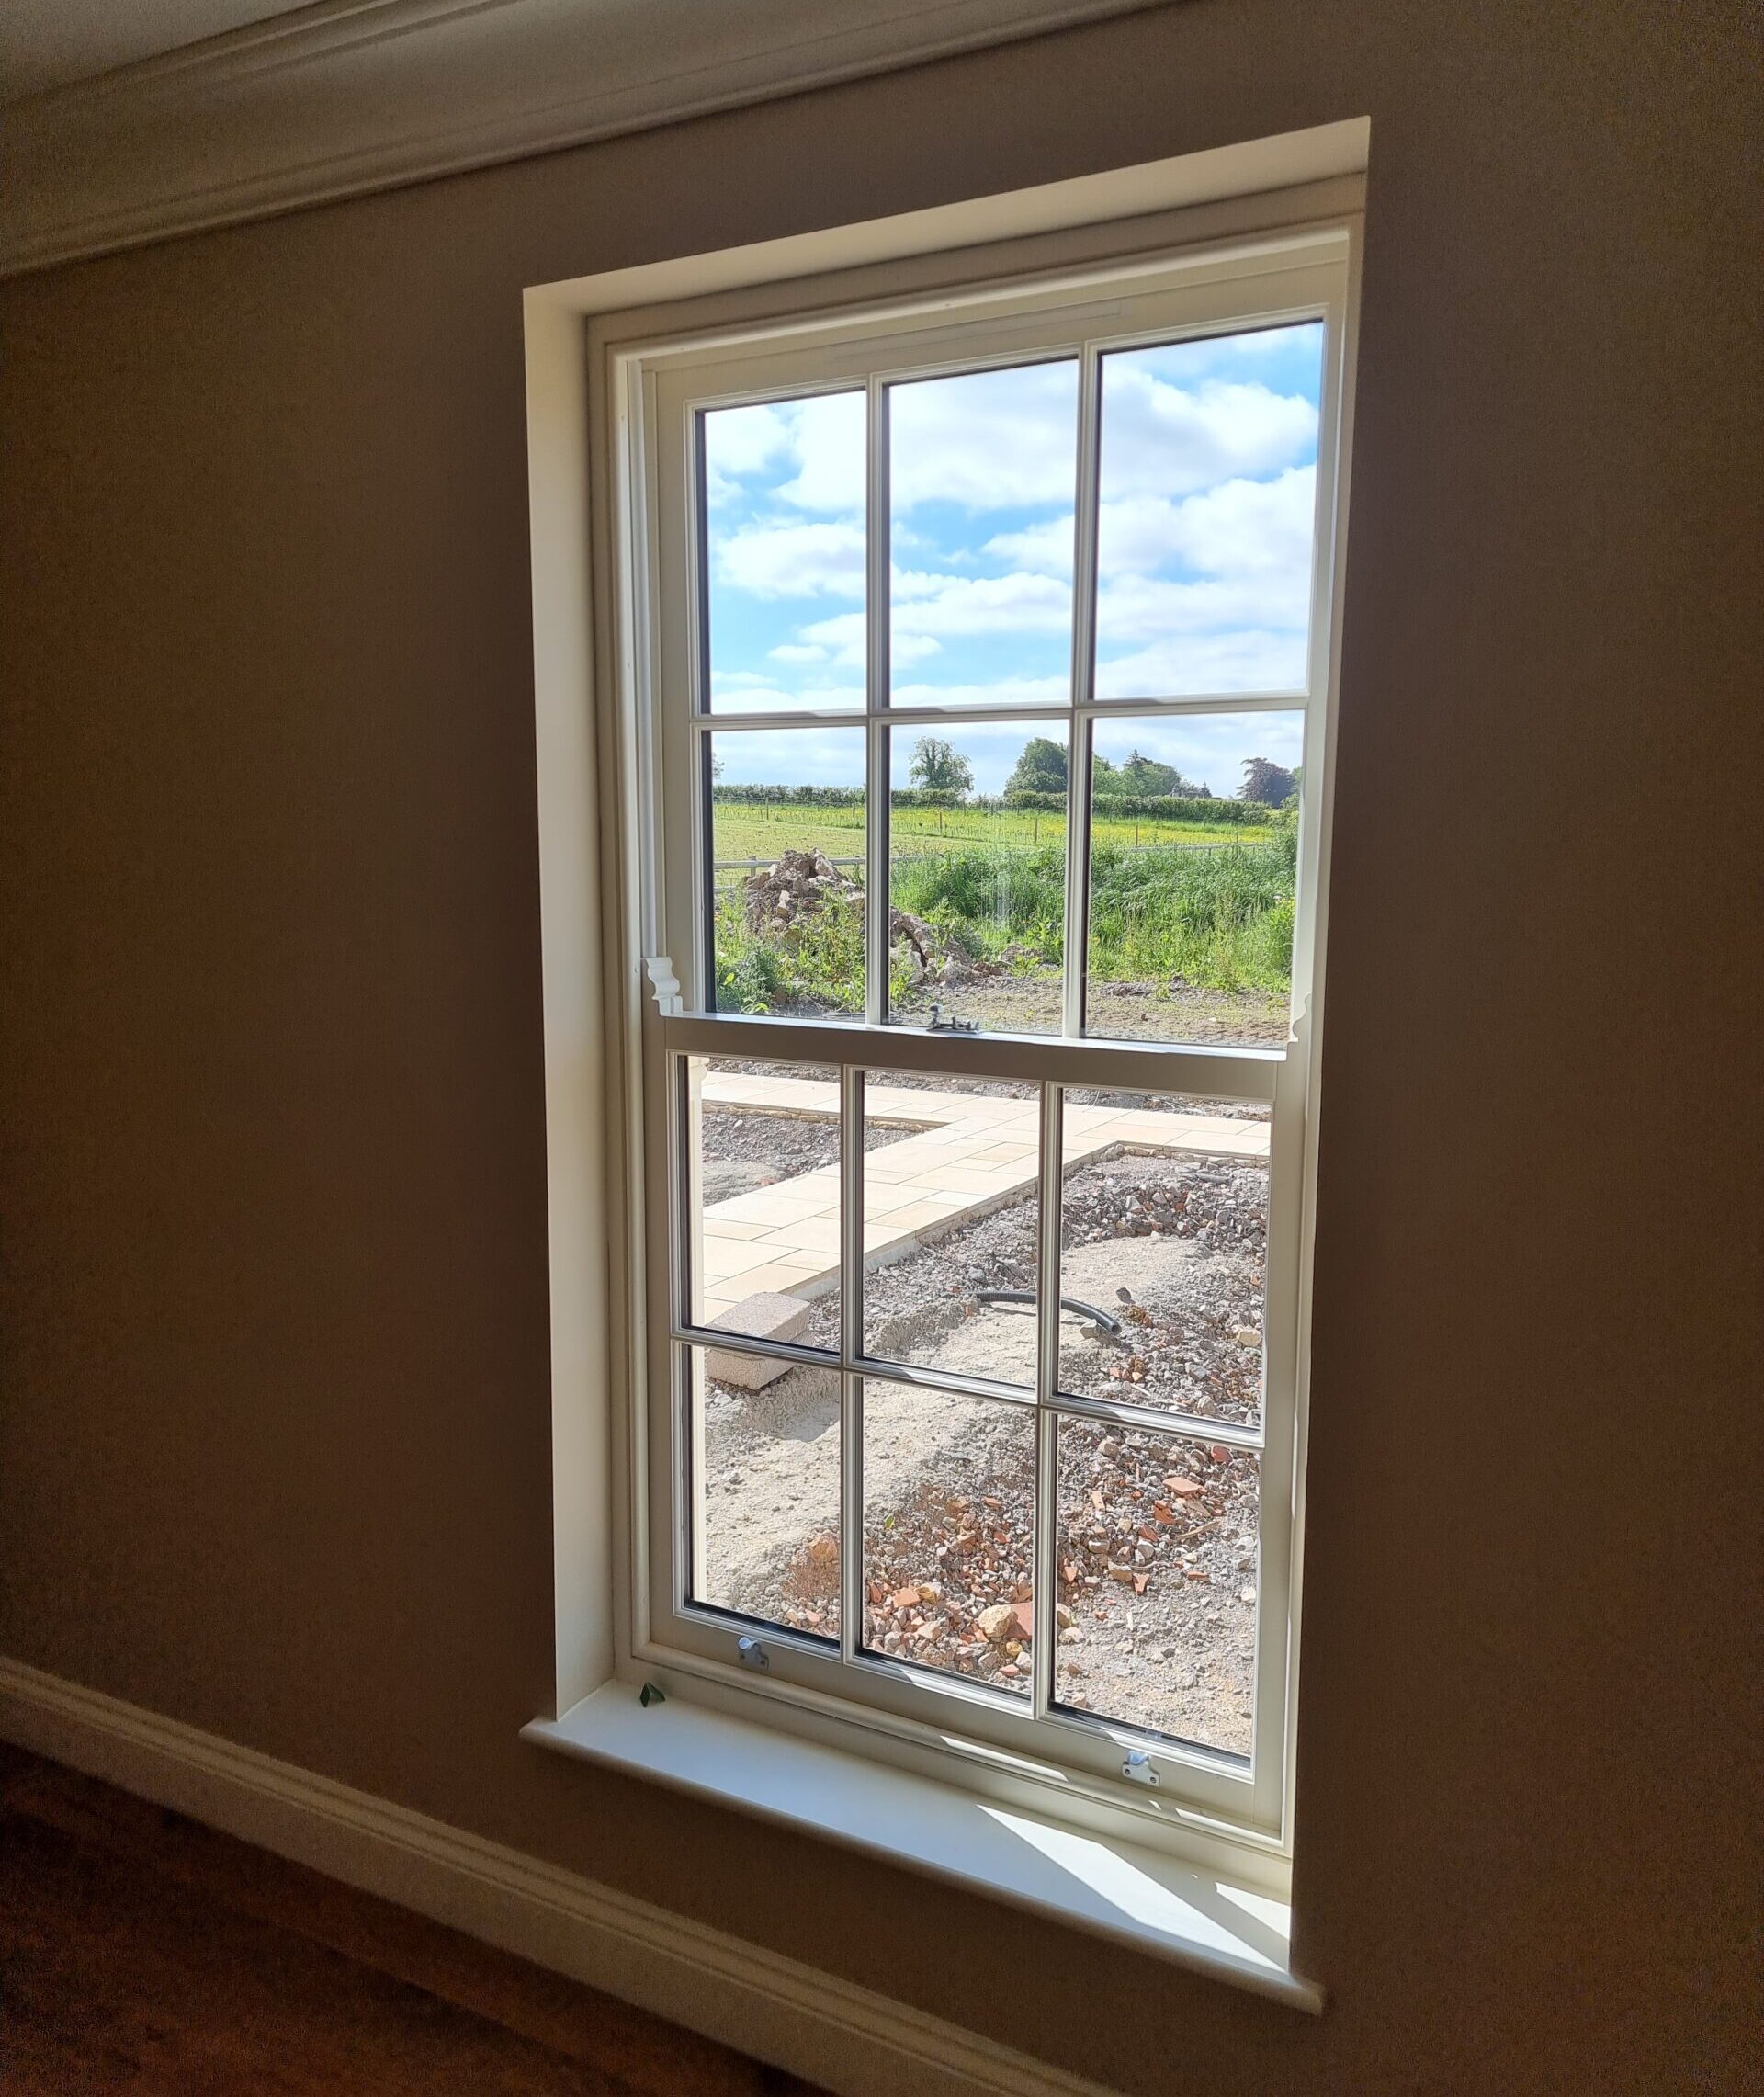
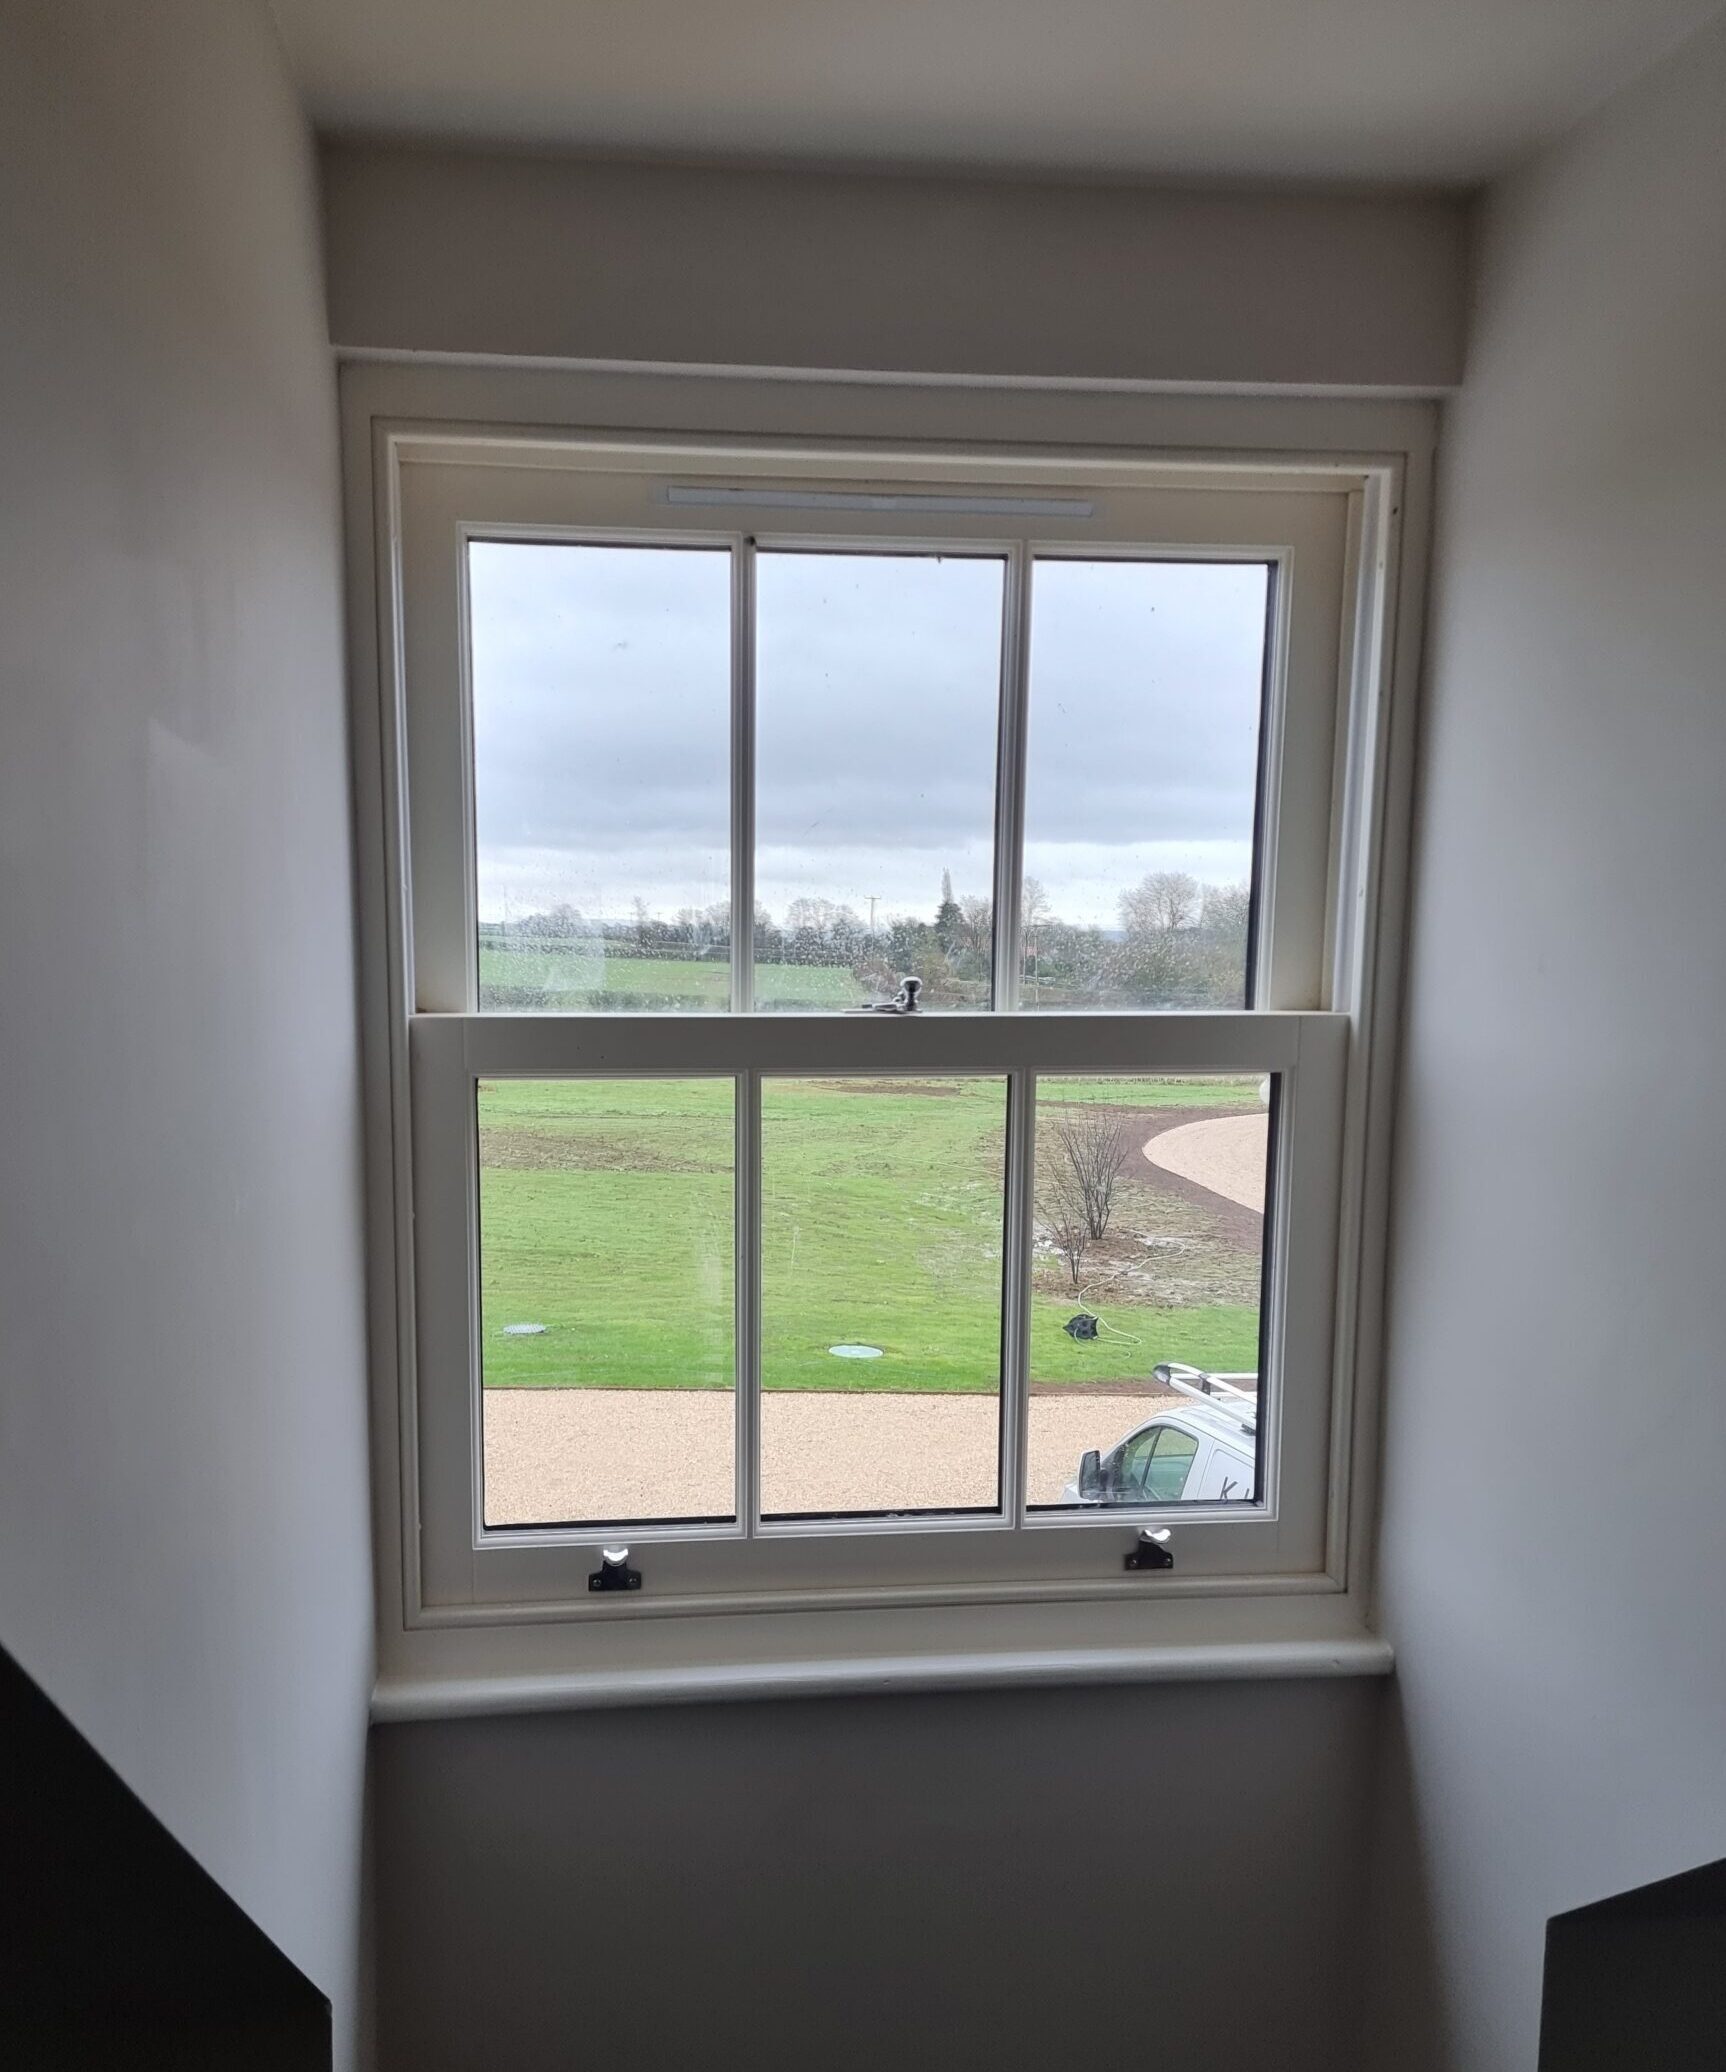
At Kings Stag Joinery we specialise in crafting wooden sash windows resembling the architectural styles of the Victorian and Georgian eras. You have the option to select durable, responsibly sourced softwood or hardwood windows. Each timber sash window is custom-made to your specifications, including your choice of style, colour, and finishing touches.
The sliding sash window boasts numerous advantages. It provides excellent ventilation while effectively preventing excessive rain from entering. Additionally, its design, which includes a box frame, minimises the risk of warping and rotting, ensuring a long lifespan for the window. From an aesthetic standpoint, the sliding sash window adds a touch of elegance to any building, even when it is open.
Our high-performance PAS24 windows fully comply with Part Q of the Building Regulations, which mandates that all new residential properties must have external windows that have been successfully tested to meet the PAS24 standard.
They’re designed with advanced security features and have undergone thorough testing by independent parties to ensure they are resistant to common methods of forced entry.
If you’re looking to enhance your new build or just want to upgrade your security, we have the windows for you.